
You love hosting brunch, but juggling hot pans and cold platters can feel chaotic. If you’re wondering how to create a brunch buffet with hot and cold stations that flows easily, you’re in the right place. This guide walks you through planning, shopping, setup, and styling so your spread looks curated and runs smoothly.
You’ll learn how to balance hot and cold dishes, what gear to grab, a timed setup plan, and quick styling tips that photograph beautifully. Follow these steps and your guests will help themselves without you missing a beat.
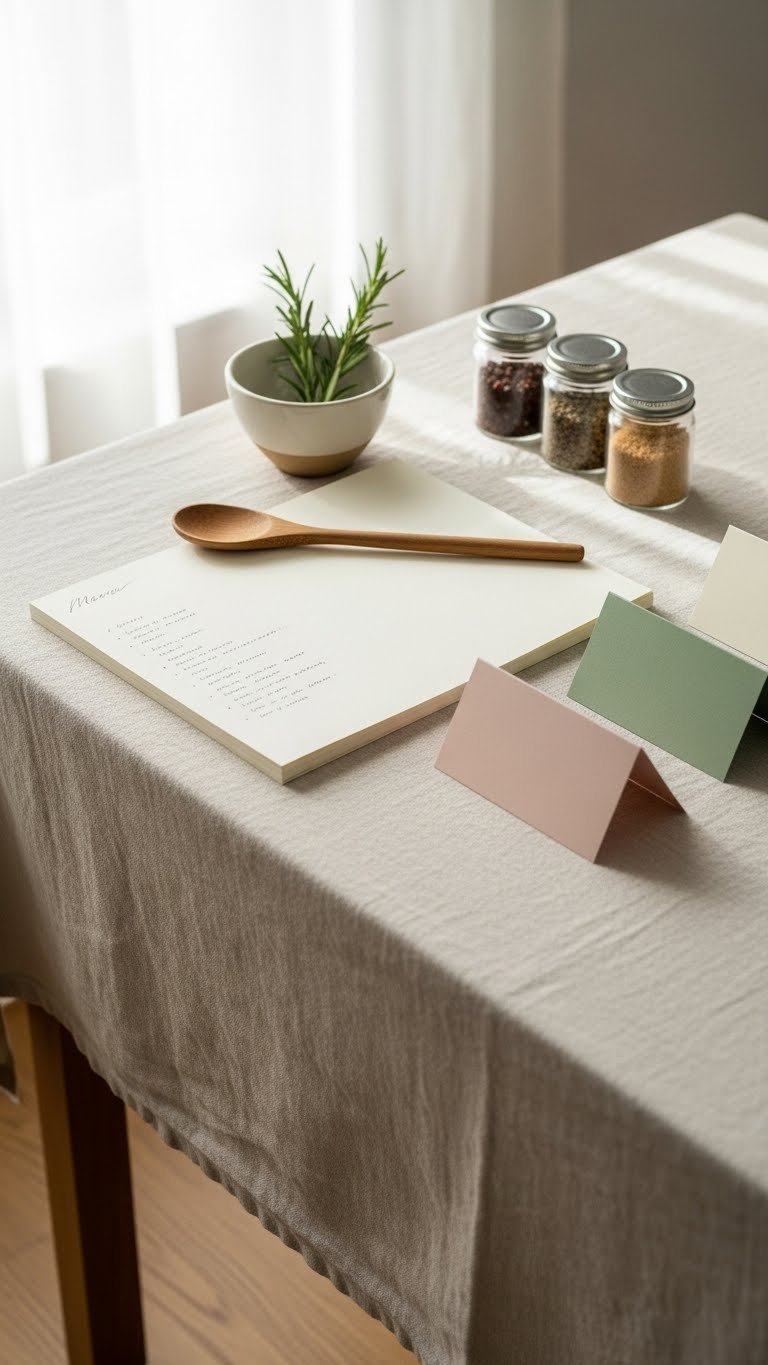
Planning and Preparation
Begin by choosing a balanced menu that splits into hot and cold stations. Aim for 3–4 hot items and 4–6 cold items for 8–12 guests.
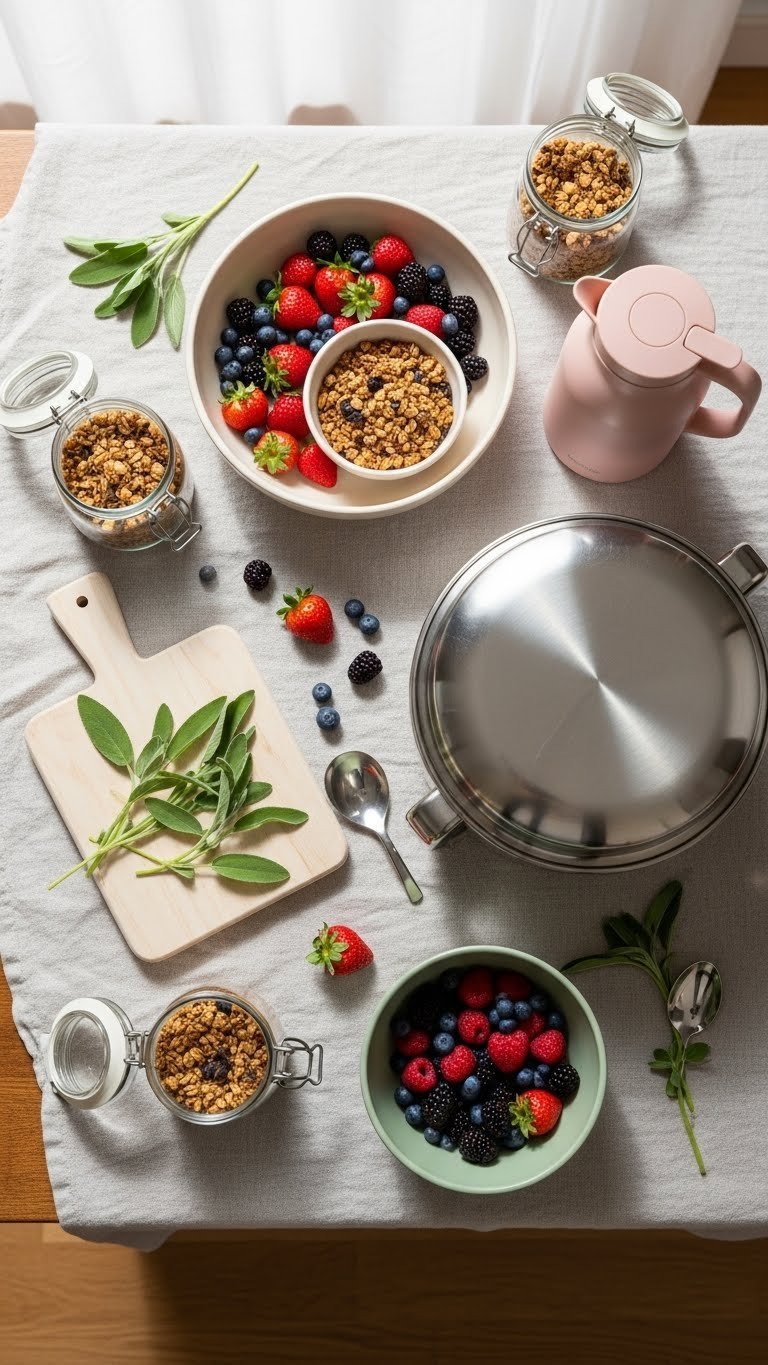
- Cold ideas: mixed greens salad, yogurt parfait bar, fruit platter, smoked salmon platter.
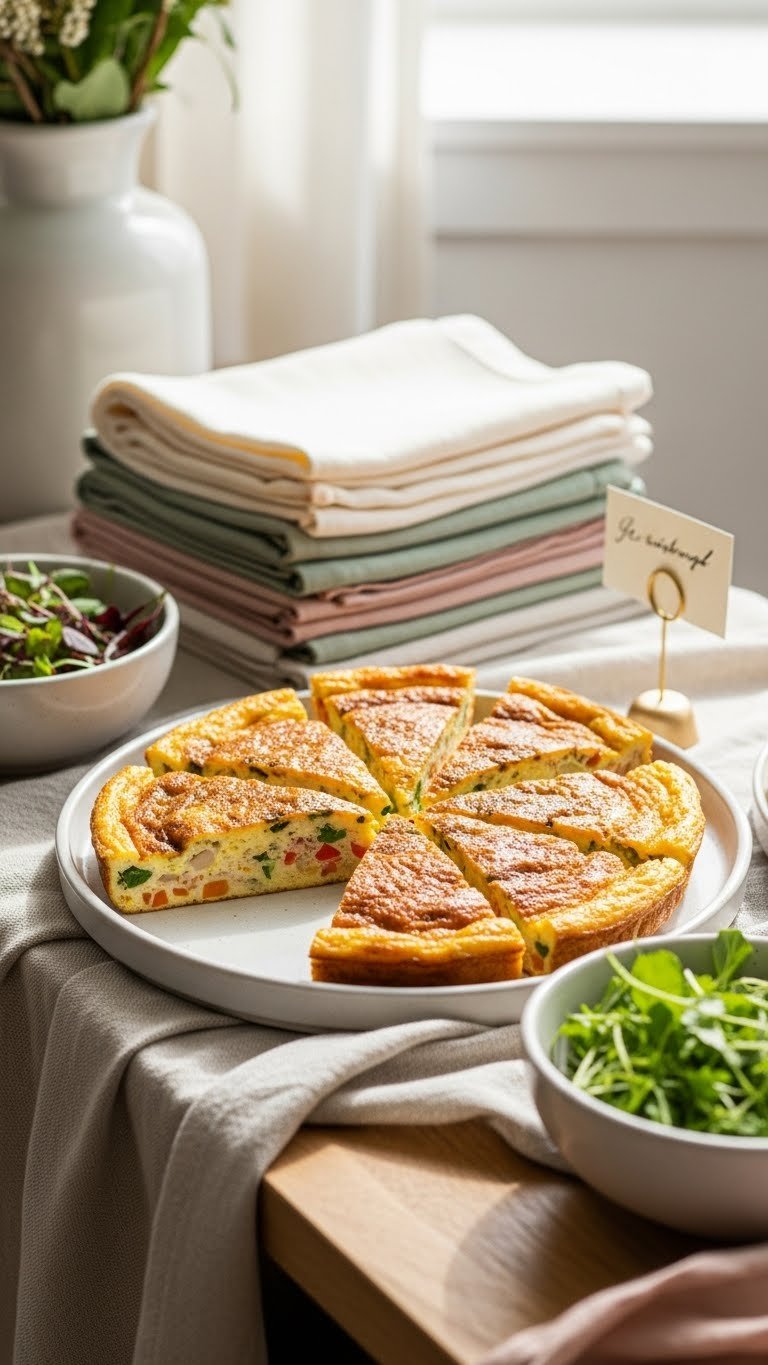
- Hot ideas: mini frittatas, breakfast sausages, oven-baked French toast, skillet potatoes.
Timing tip: schedule hot items to be ready within a 30–60 minute window so they stay warm on the buffet. Make a checklist and assign any last-minute reheating tasks to a helper.
What You'll Need (ingredients + tools)
Gather tools that separate hot and cold safely.
- Serving equipment:
- 2 chafing dishes or electric slow cookers for hot dishes
- Ice-filled trays or metal bowls for cold items
- Tongs, ladles, and serving spoons
- Labels or small chalkboard signs
- Ingredients (for 8–12 guests):
- 24 mini frittatas or 12 large sliced
- 24 breakfast sausages or 2 lbs
- 3 lbs mixed berries, washed
- 2 lbs smoked salmon, lemon wedges and capers
- 2 loaves of sliced artisan bread
Pro tip: place beverage carafes at the far end to avoid bottlenecks near the food.
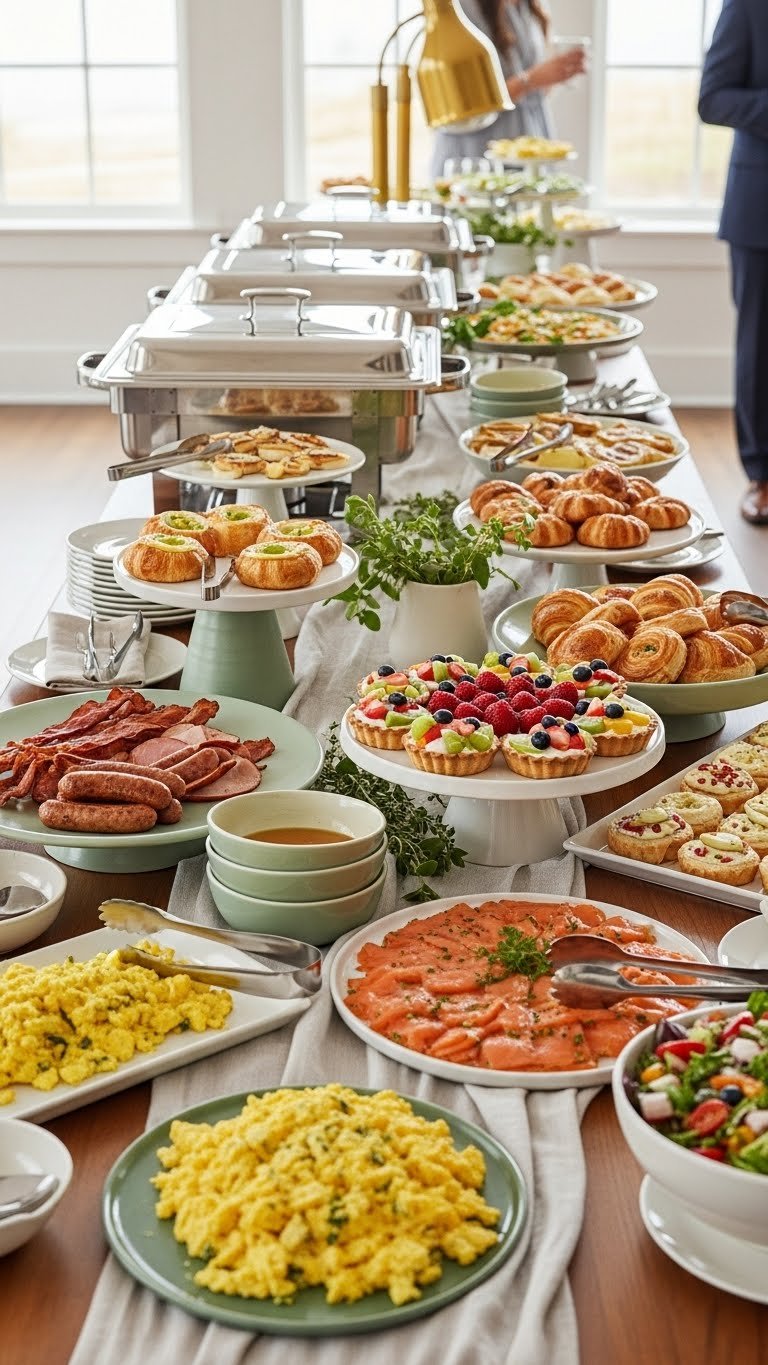
Setting Up Your Hot and Cold Stations

Set stations about 4–6 feet apart so guests circulate naturally.
- Start with the cold station: layout from lighter to heavier dishes (greens → proteins → pastries).
- Place ice-filled metal bowls under smoked salmon and fruit platters to keep temps safe.
- For the hot station:
- Preheat chafing dishes or slow cookers.
- Keep hot trays covered until 5 minutes before serving.
- Label dishes and note common allergens.
Quick steps:
- Use risers (wood or acrylic) to create height and visual separation.
- Keep utensils next to each dish to avoid cross-contamination.
- Leave small plates at the start of the line and napkins at the end.
Warning: never place hot and cold items on the same tray without a thermal barrier—food safety matters.
Styling, Serving, and Make-Ahead Tips
Polish the look with small touches that photograph well.
- Styling tips:
- Use a consistent color palette (cream, sage green, blush) across linens and props.
- Arrange food in blocks of color for impact—berries next to mint sprigs, smoked salmon with lemon.
- Add fresh herbs and small bowls of condiments as finishing accents.
- Make-ahead timeline:
- 1–2 days before: bake pastries, make granola, chop fruit.
- Night before: assemble yogurt parfait components in jars (cover and refrigerate).
- Morning of: reheat hot items 30–45 minutes before guests arrive; transfer to chafers.
Storage tips:
- Store leftovers in airtight containers for 3–4 days in the fridge.
- Freeze cooked potatoes or baked goods for up to 1 month—thaw overnight.
Final pro trick: take a quick photo of your buffet setup before guests arrive so you can remember placement for future events.
You’ve planned, shopped, and styled a brunch buffet that’s easy to manage and looks beautiful. With this step-by-step approach to how to create a brunch buffet with hot and cold stations, you’ll keep food at the right temperature and guests moving smoothly.
Pin this guide for your next brunch and save time on prep. Which station will you set up first—hot or cold? Ready to make this happen? Let’s do it!