
You’ve seen cookie bouquets and wondered if you could make one that looks like it belongs on a party table — not just a snack on a plate. You can. This guide shows you how to create cookie bouquets as centerpieces that look polished and last through the event.
You’ll learn what supplies to buy, how to prepare cookies safely, step-by-step assembly, and quick styling tips so your cookie bouquets become the table’s focal point. Ready to make a bouquet that guests will actually photograph and pin? Let’s get started.
What You'll Need (DIY cookie bouquet materials)
Gathering the right supplies saves time. For one medium bouquet plan on 6–10 decorated cookies, plus extras for variety. Choose firm sugar cookies or store-bought decorated cookies that hold a stick well.
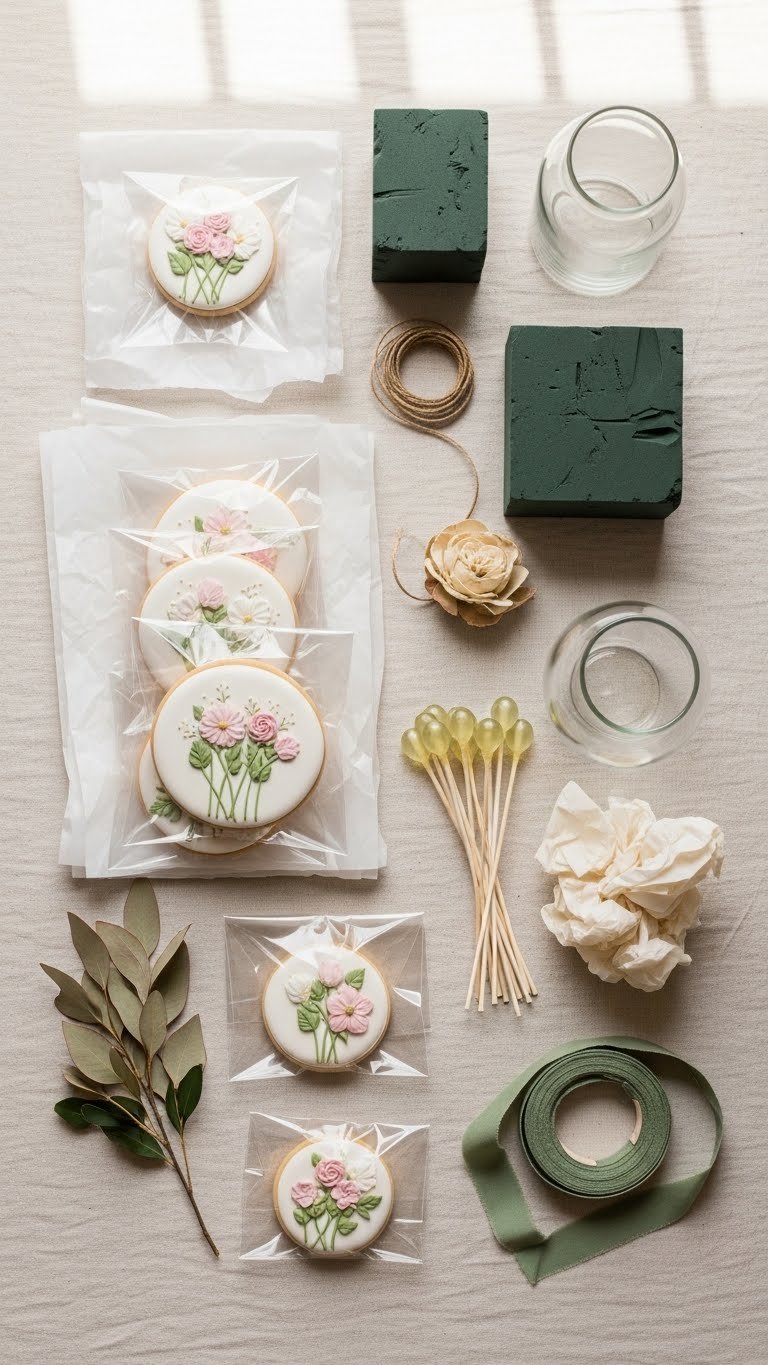
Essential supplies:
- 6–10 cookies (3–4" diameter recommended)
- Lollipop sticks or wooden skewers, food-safe
- Clear cellophane bags and twist ties or small heat sealer
- Floral foam block and a glass vase
- Ribbon (1–2 yards) and tissue paper
- Optional: royal icing or hot glue gun (for craft-only touches), fresh greenery
Tips:
- Use cookies cooled to room temperature before inserting sticks.
- If you’re short on time, buy decorated cookies and re-wrap them for a polished look.
Prepare the Cookies and Attach Sticks
Attach sticks carefully so cookies don’t break. If cookies are homemade, chill them for 30–60 minutes before inserting sticks to reduce crumbling.
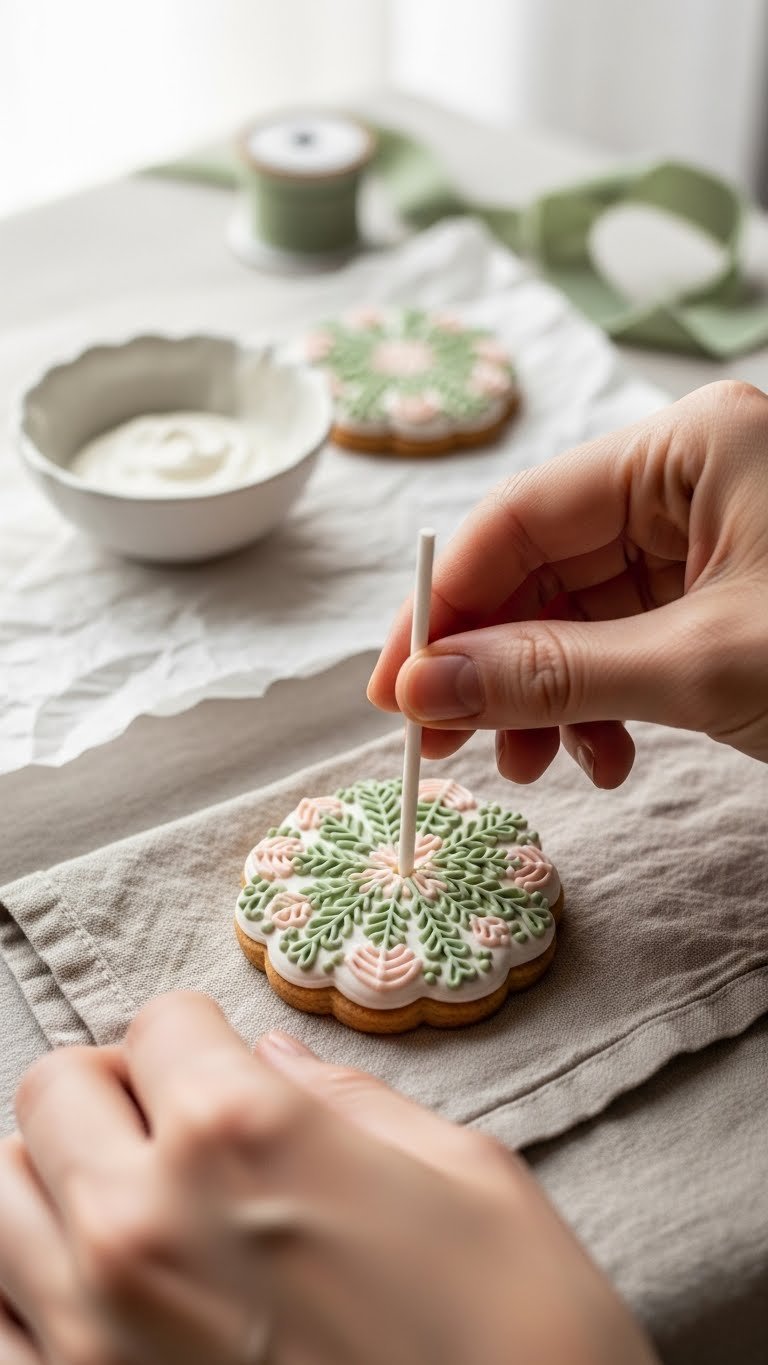
Step-by-step:
- Place a small dab of royal icing or melted chocolate at the back center of the cookie.
- Push a lollipop stick halfway into the dab so the icing holds the stick when it sets.
- Let cookies sit upright in a shallow tray for 15–20 minutes until the icing sets.
Packaging:
- Slide each cookie into a clear bag, remove excess air, and seal with a twist tie or heat sealer.
- Add a small sprig of greenery or a micro-tag inside the bag for a boutique feel.
Warnings and pro tips:
- Don’t force a stick into warm cookies; they’ll crack.
- Use skewers only if you’ll trim them down and sand edges for safety.
Assemble the Bouquet (Step-by-step instructions)
Assembling is like arranging flowers — think height, depth, and balance.
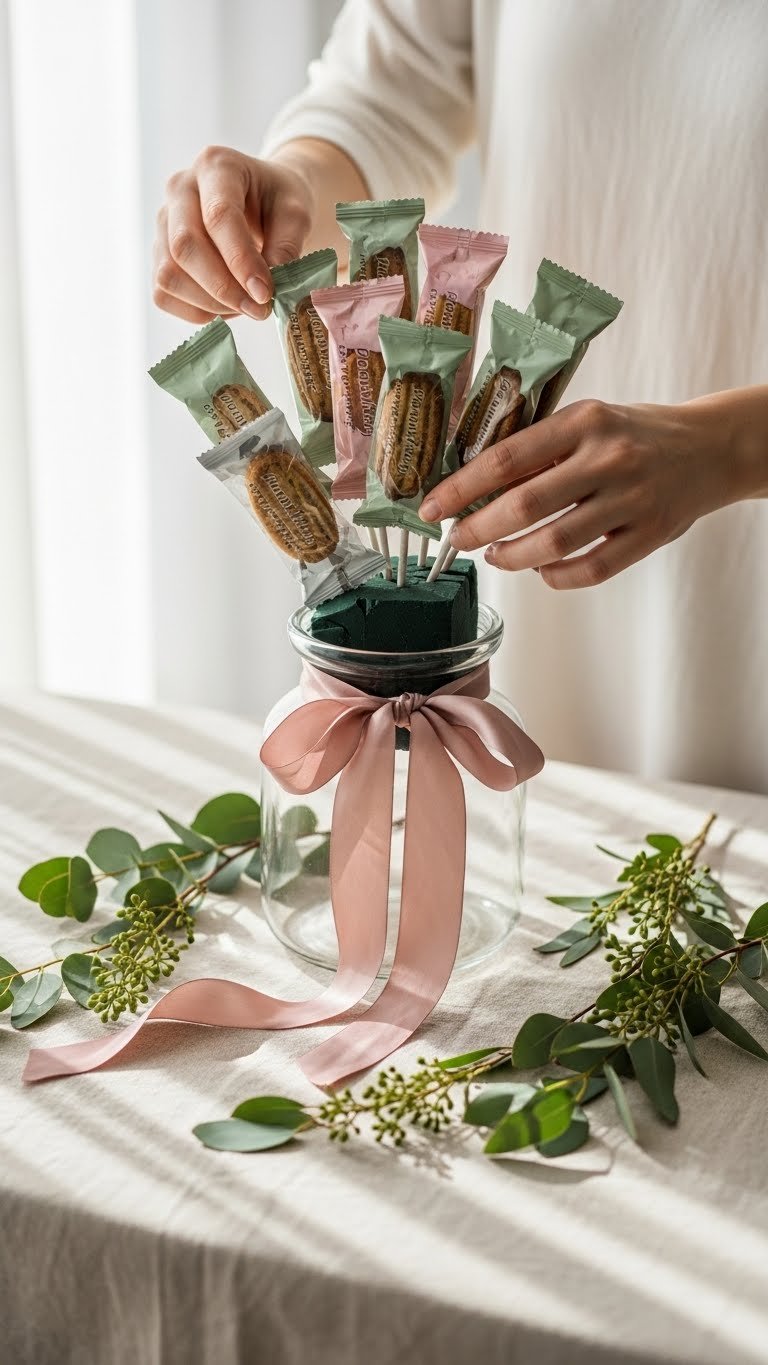
Assembly steps:
- Soak the floral foam with water if you’ll add fresh greenery; otherwise use dry foam for purely cookie bouquets.
- Trim cookie sticks to stagger heights: short (4–5 in), medium (6–7 in), tall (8–9 in).
- Start with 3 focal cookies at varying heights, insert them into the foam at a slight outward angle.
- Fill gaps with smaller cookies and sprigs of greenery or faux foliage.
- Add tissue paper around the base and tie a silk ribbon in a loose bow.
Styling tips:
- Alternate cookie designs and colors for visual interest.
- Keep the bouquet slightly asymmetrical for a natural look.
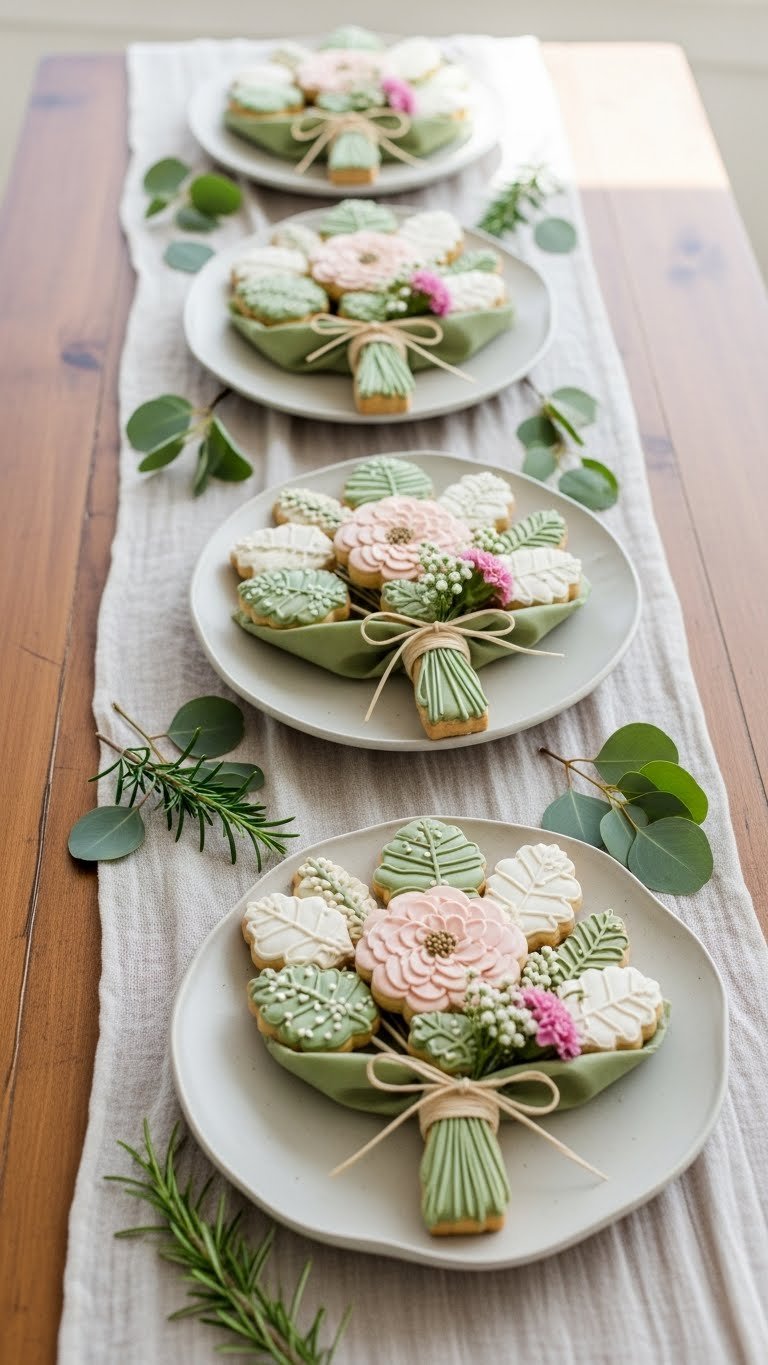
- For table settings, use smaller bouquets (4–6 cookies) so guests can see each other.
Styling, Serving, and Storage Tips
Serve and store with care so cookies stay crisp and attractive.
Serving:
- Place bouquets on each table or use one large centerpiece for head tables.
- Pair with a small card indicating flavors (e.g., vanilla, lemon, chocolate).
Storage and make-ahead:
- Cookies wrapped in cellophane keep well at room temperature for 3–5 days.
- Assemble bouquets the day of the event for best appearance; you can prepare sealed cookies 1–2 days ahead.
- Avoid direct sunlight on decorated icing to prevent softening.
Troubleshooting:
- If a cookie leans, add a small foam wedge behind it.
- For broken cookies, wrap fragments and tuck them into the bouquet base as filler.
You’ve got everything you need to make cookie bouquets that double as charming centerpieces. Pin this guide for your next party and try the staggered-height method first — it’s the easiest way to get big visual impact. Which bouquet color combo will you try? Ready to make this happen? Let’s do it!