
You want a grazing table that looks abundant without costing hours or stress. A grazing table solves that: one big display feeds a crowd and creates an instant party focal point. This guide shows you how to build a beautiful grazing table step by step, so you can plate, style, and serve with confidence.
You’ll learn what to buy, how to arrange items for flow, quick styling tricks, and smart make-ahead tips. Follow these steps and your grazing table will look intentionally effortless and taste fantastic.
What You'll Need for Your Grazing Table

Gathering the right mix makes building a grazing table fast. Aim for variety in texture, flavor, and height. Plan for about 4–6 items per 1–2 guests if this is the main food.
Essentials:
- Cheeses: 3 types (soft, semi-firm, hard). Example: Brie (8 oz), Aged cheddar (8 oz), Manchego (6 oz).
- Cured meats: prosciutto, soppressata, salami—about 3–4 oz per guest.
- Crunch and dip: crackers, sliced baguette, pita chips.
- Fresh + dried fruit: grapes, figs, apricots.
- Crunchy elements: mixed nuts (2 cups), marcona almonds.
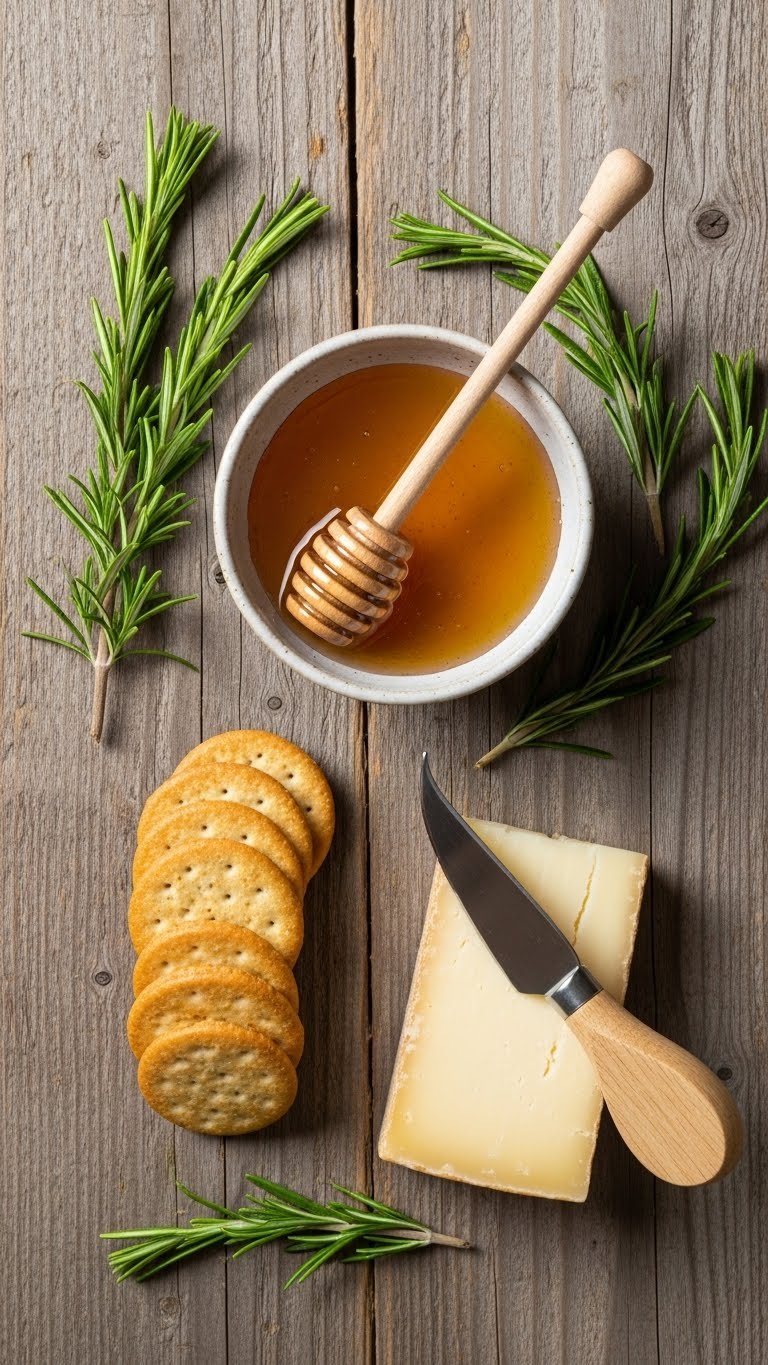
- Condiments: honey, grainy mustard, chutney in small bowls.
- Tools: cheese knives, toothpicks, small tongs, serving boards.
Tip: buy in small increments and add more if you need it. Visual abundance matters more than exact quantities.
Preparing and Laying Out Ingredients

Prep is quick if you do it in stages. Cut cheeses into varied shapes: wedges, cubes, thin slices. Fold or roll meats so they look full. Place wet items like olives and dips in bowls first.
Layout strategy:
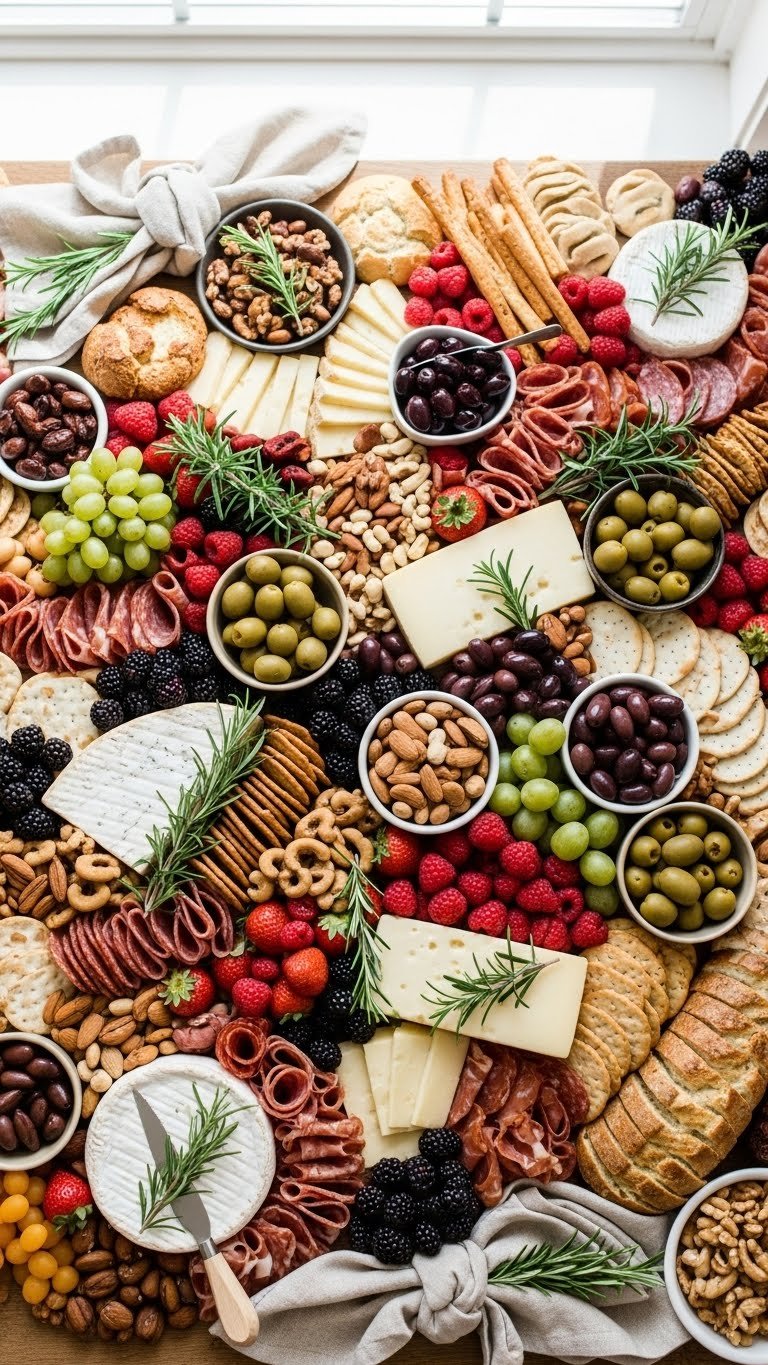
- Place largest wooden boards or platters as anchors.
- Group food into clusters; leave small gaps for balance.
- Arrange items in repeating colors and textures for flow.
- Use bowls for loose items and to create height.
Pro tip: create a “meat waterfall” by slightly overlapping rolled meats, and fan cheese slices for easy picking. Keep bite-sized portions accessible.
Styling Tricks and Troubleshooting
Good styling makes your grazing table feel abundant. Think of it like painting: balance warm and cool colors, and repeat shapes.
Quick styling tips:
- Add greenery (rosemary, thyme) for color and aroma.
- Use small bowls to break up flat textures.
- Scatter nuts and berries to fill holes.
- Place utensils where guests can reach them without touching food.
Common mistakes to avoid:
- Overcrowding one area—spread items across the table.
- Putting sticky items next to crackers—use bowls or paper doilies.
- Waiting until the last minute to slice everything—prep meats and cheeses earlier.
If something looks sparse, add height with a small cutting board or a stack of bowls under a platter.
Serving, Make-Ahead, and Storage Tips

Timing saves stress. You can prep most items up to one day ahead:
- Slice harder cheeses and keep covered.
- Wash and dry fruit, refrigerate in single layer.
- Arrange perishable items right before guests arrive.
Serving tips:
- Label cheeses with small cards or toothpick flags if needed.
- Refill bowls from reserve platters kept nearby.
- Keep chilled items on ice trays hidden under a cloth to stay cool.
Storage: wrap cheeses in parchment, not plastic, to breathe. Leftovers keep 2–4 days in the fridge depending on components. Use leftover meats and cheeses for salads or sandwiches the next day.
Final tip: photograph from overhead before guests arrive—it's pin-worthy and helps preserve the look.
You now have a clear, doable plan to create a grazing table that looks effortless and tastes irresistible. Pick the tip you’ll try first—arranging meats, adding height, or prepping ahead—and get started. Pin this guide for your next gathering, save it for later, and share with friends who love to host. Which ingredient will you feature center stage?