
You love the look of layered color, but your cupcakes, cakes, or parfaits never look as good in photos as they do in person. You can learn how to create ombre desserts that photograph beautifully in a few simple steps. This guide shows you how to mix, layer, and style ombre desserts so they look photo-ready on the first try.
You’ll learn what to buy, how to tint consistently, the best piping and layering techniques, and quick styling tips to make your photos pop. Follow these steps and you’ll have pin-worthy ombre desserts in under an hour for most projects.
What You'll Need for Ombre Desserts
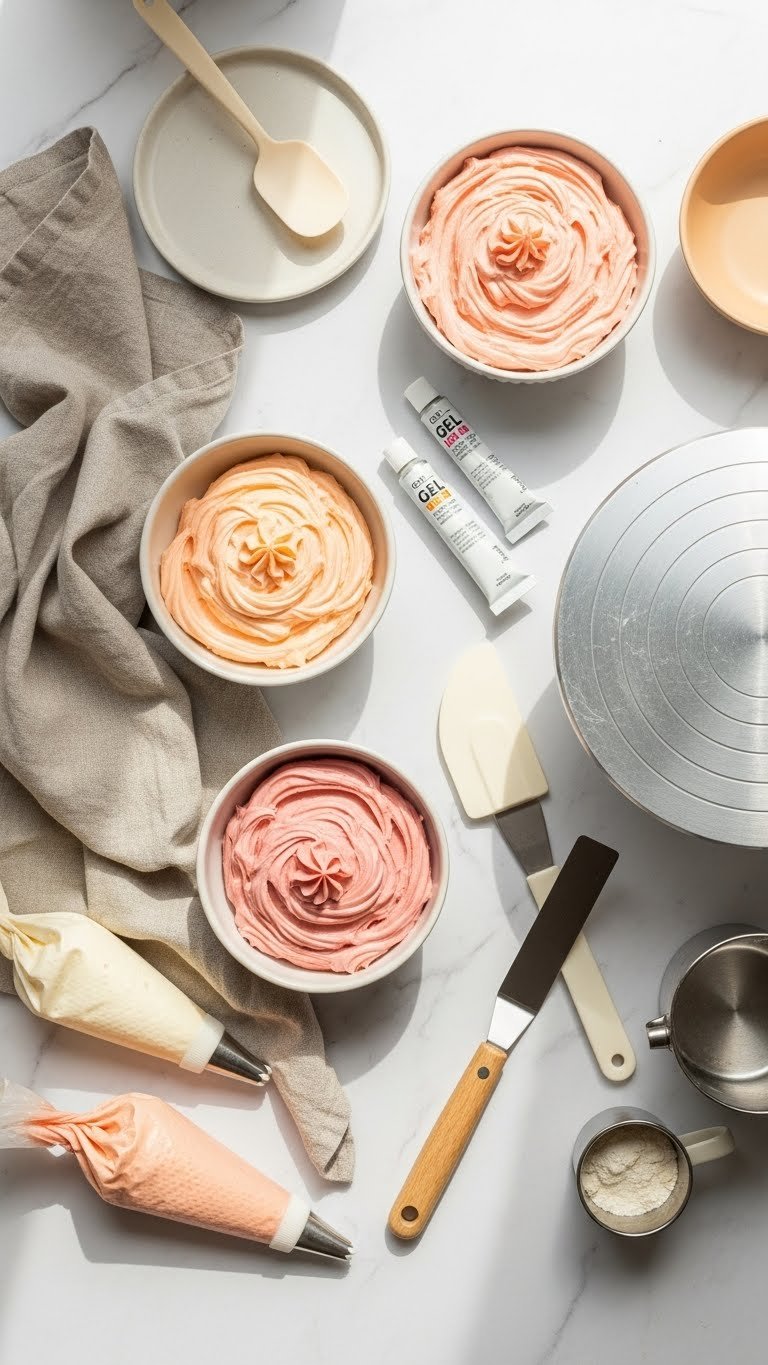
Gathering the right tools and ingredients makes ombre desserts fast and consistent. Use gel food coloring for predictable hues and a good spatula or turntable for smooth finishes. Keep everything within reach before you start.
- Ingredients: 2–4 cups buttercream or whipped cream, gel food coloring, finished cookies/cake layers, or clear parfait glasses.
- Tools: piping bags, couplers, offset spatula, bench scraper, mixing bowls, spoon scales for precision.
- Optional: edible shimmer, small spoons, palette knife for rustic looks.
Tip: Use a neutral base frosting (white or ivory) so tints read true in photos.
Preparing Your Ingredients for Ombre Desserts
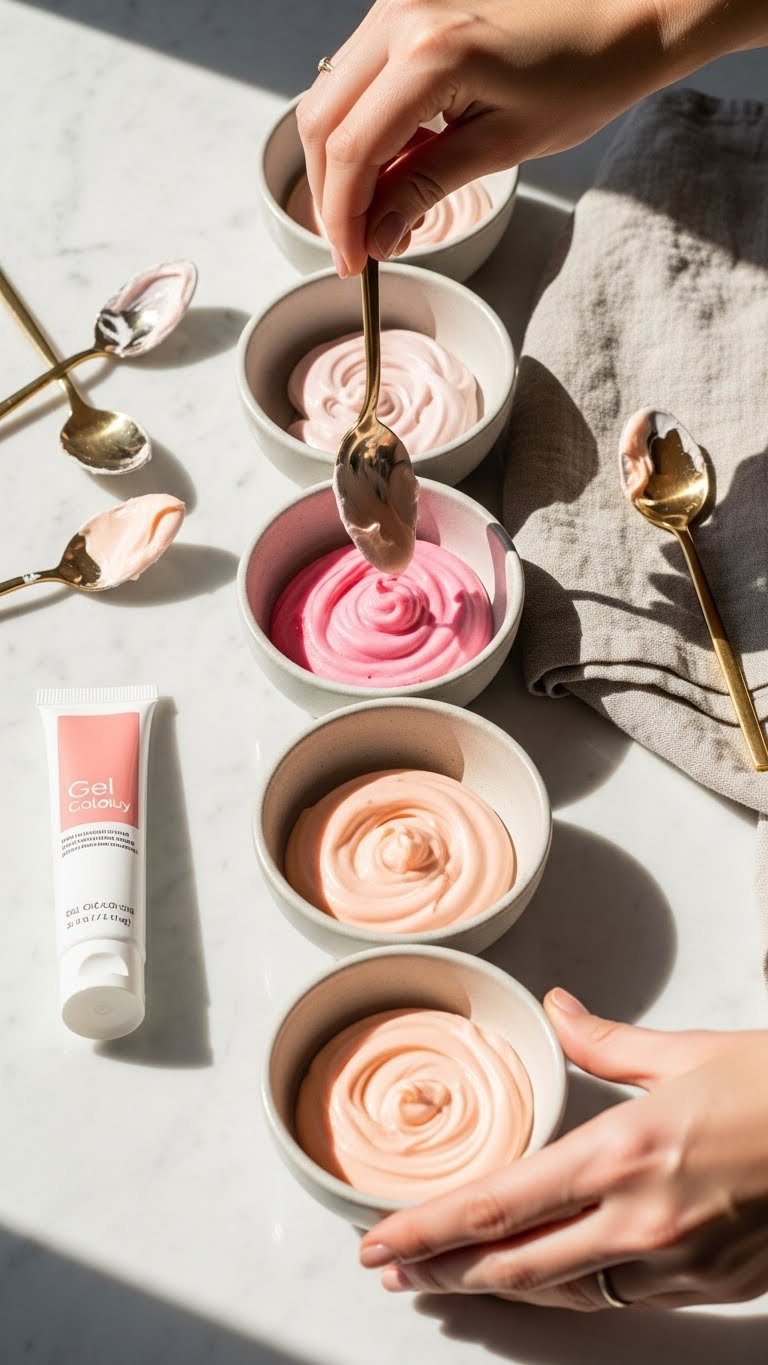
Start by making one batch of frosting or mousse. Divide it into equal portions for even color steps. Small bowls keep the tinting organized.
- Make base frosting and stir until smooth.
- Divide into 4–6 bowls depending on how many ombre steps you want.
- Add color a drop at a time with gel coloring. Mix well between drops.
- Aim for gradual shifts: keep the lightest bowl nearly white, and deepen by ¼–½ teaspoon color per bowl.
Pro tip: Photograph a quick swatch strip on parchment to check the gradient under your lighting before you pipe.
The Technique Step-by-Step
Use these methods for layered cakes, cupcakes, parfaits, or cookies.
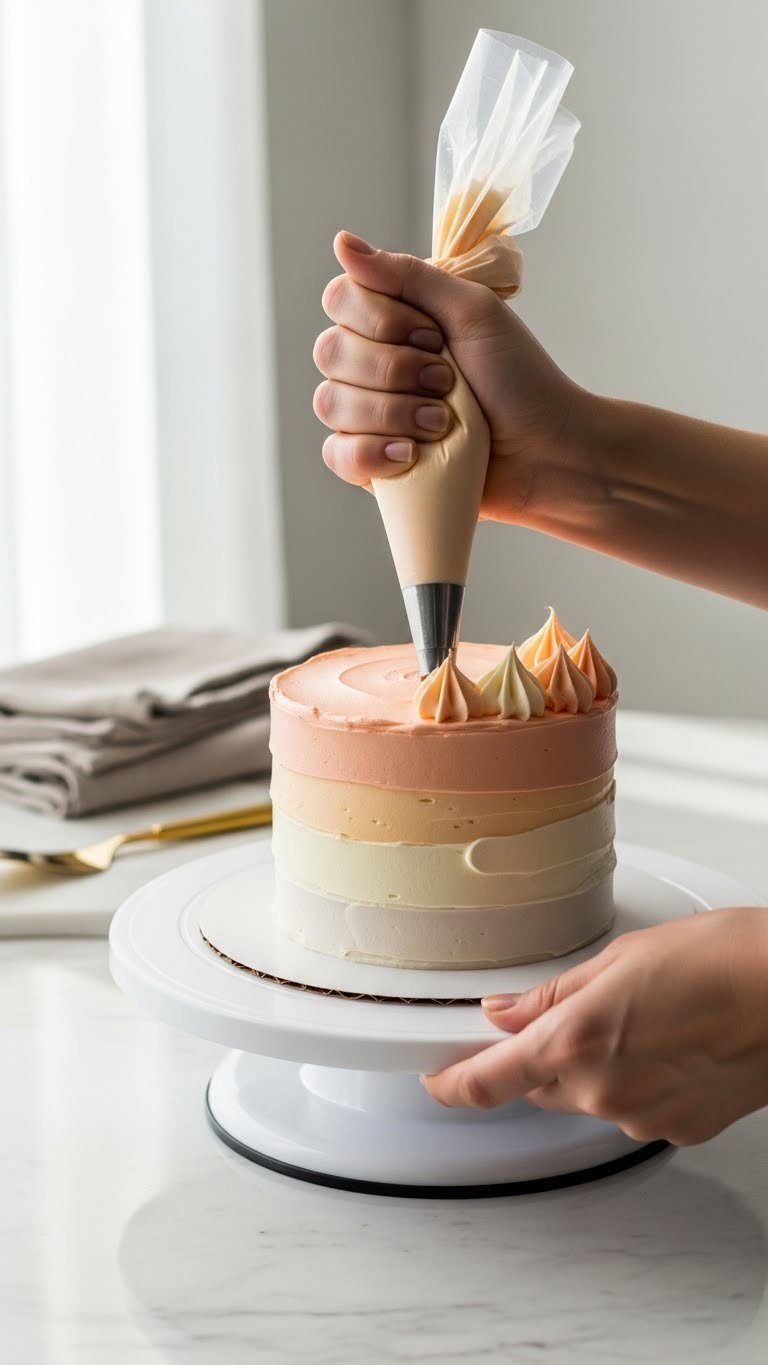
Layered cake (smooth ombre):
- Apply the darkest shade near the base using a piping strip.
- Pipe next lighter bands above, overlapping slightly.
- Smooth with a bench scraper while spinning the turntable until bands blend softly.
- Chill 15–20 minutes, then refine edges with a warm spatula.
Piped cupcakes (ombre swirl):
- Fit a piping bag with a wide star or round tip.
- Dollop each shade side-by-side in the bag or use a multi-compartment icing tin.
- Pipe a single continuous swirl for a natural gradient.
Quick parfaits:
- Spoon darkest layer first, then lighter layers.
- Tap glasses to settle layers for clean lines.
Warnings and fixes:
- If colors look muddy, chill and gently re-smooth. Too much mixing flattens contrast.
- If frosting is too soft, chill 10 minutes before piping.
Styling, Photography, and Serving Tips (How to Photograph Ombre Desserts)
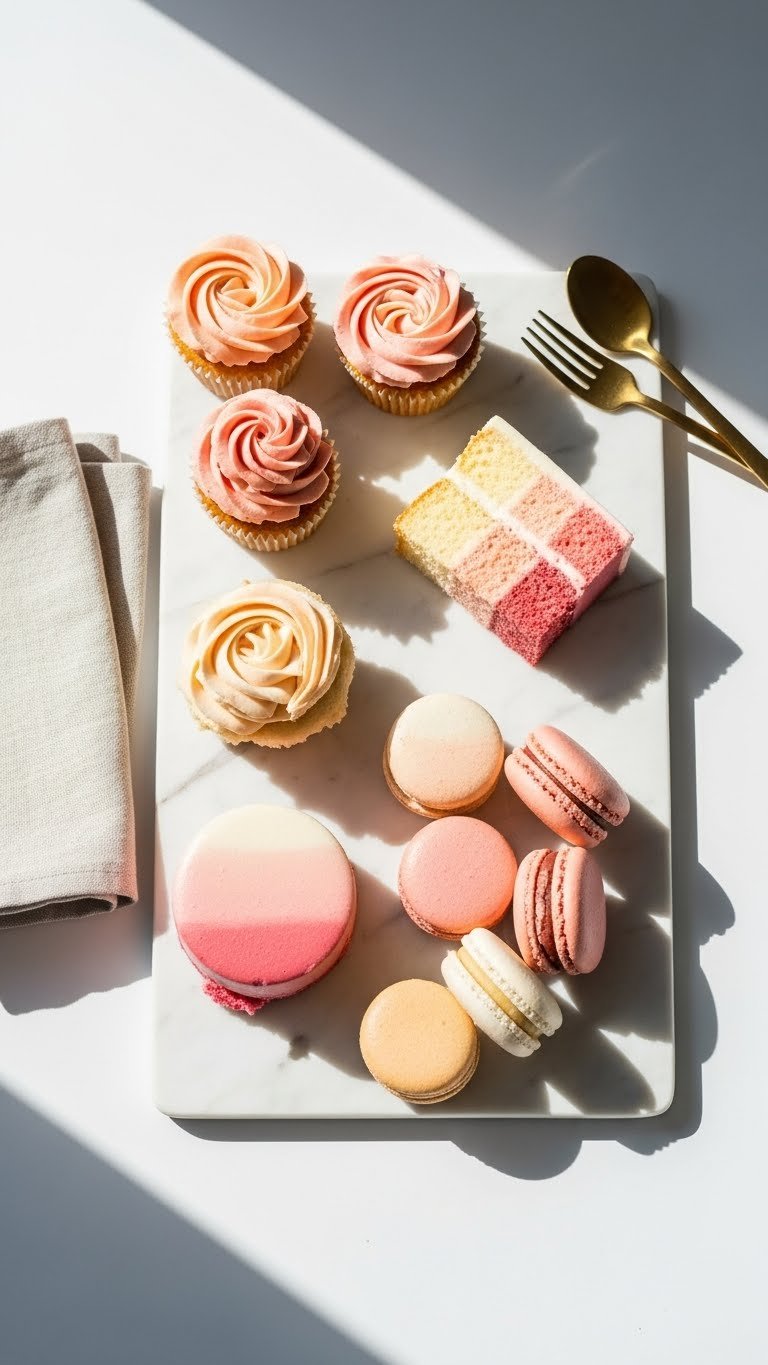
The way you style and photograph makes or breaks the final image. Keep compositions simple and let color be the star.
- Use the same background and props for a cohesive feed: white marble, neutral linen, and minimal gold accents.
- Shoot in bright natural window light; position the light at a 45-degree angle to create gentle depth.
- Use negative space—leave room for text overlays on Pinterest.
- Capture a mix of close 45-degree shots and a slightly wider table composition.
- Show one clear focal dessert and a few supporting props for context.
Serving and storage:
- Chill finished cakes 30 minutes before slicing for cleaner layers.
- Store frosted desserts in the fridge up to 3 days; bring to room temperature before serving.
Which tip will you try first when making your next set of ombre desserts? Pin this guide for your next party!
Pin this guide for your next celebration and share it with friends who love baking. Ready to make this happen? Let's do it!