
You love sharing locally grown foods, but the names, farms, and stories often get lost in the shuffle. Labeling locally grown foods turns a simple display into a hands-on learning moment for kids, customers, or classroom visitors.
This guide shows how to label locally grown foods for educational touch with clear steps, materials, and time-saving tips. You’ll learn what to buy, exactly how to write or print labels, and creative ways to teach origin, season, and flavor using simple, pin-worthy labels.
What You'll Need (Materials for educational food labels)
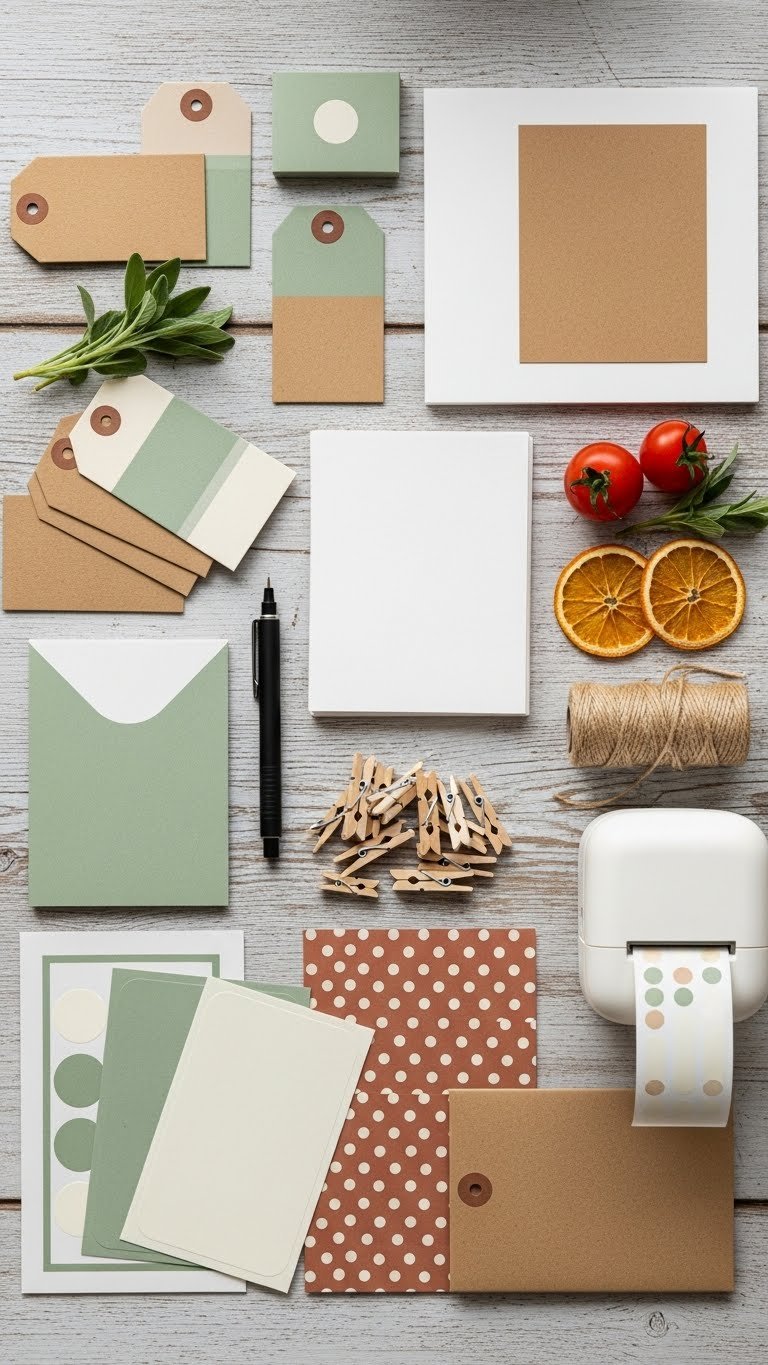
Gather these basics so you can start in 15–30 minutes.
- Kraft tags (2" x 3.5") or 3×5 index cards for larger notes
- Waterproof sticker sheets (A4) for refrigerated items
- Black fine-tip marker or small label printer
- Twine (3–5 meters) and mini clothespins
- Optional: small QR code stickers linking to farm pages
- Time: 15–30 minutes to prep labels for 10–20 items
Tip: Choose a mix of handwritten and printed labels—handwritten feels personal, printed is consistent and faster for large events.
Preparing Your Labels (Design and info to include)
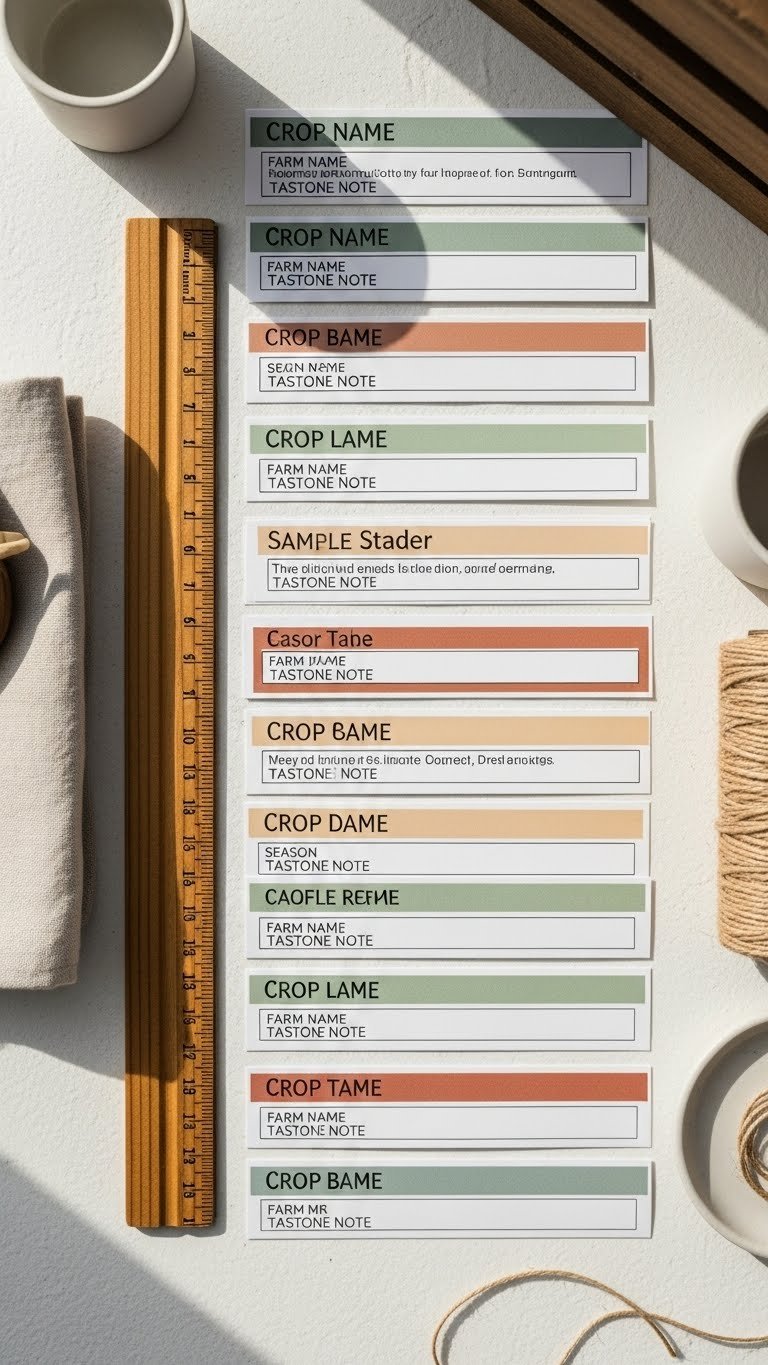
Decide what information you want students or shoppers to learn. Keep each label short and readable.
Include:
- Produce name (front, bold)
- Farm or grower (short name)
- Season or harvest date (e.g., "Harvested Aug 28")
- Taste note (one short phrase, e.g., "sweet & crisp")
- Allergen or organic note if needed
Design tips:
- Use large type for the name (approx. 14–18 pt).
- Keep lines to 2–3 words each for readability.
- For classes, add a question like “Where did this grow?” to invite interaction.
Warning: For refrigerated items, use waterproof stickers—paper will smear.
Step-by-Step: How to Label Locally Grown Foods (Practical process)
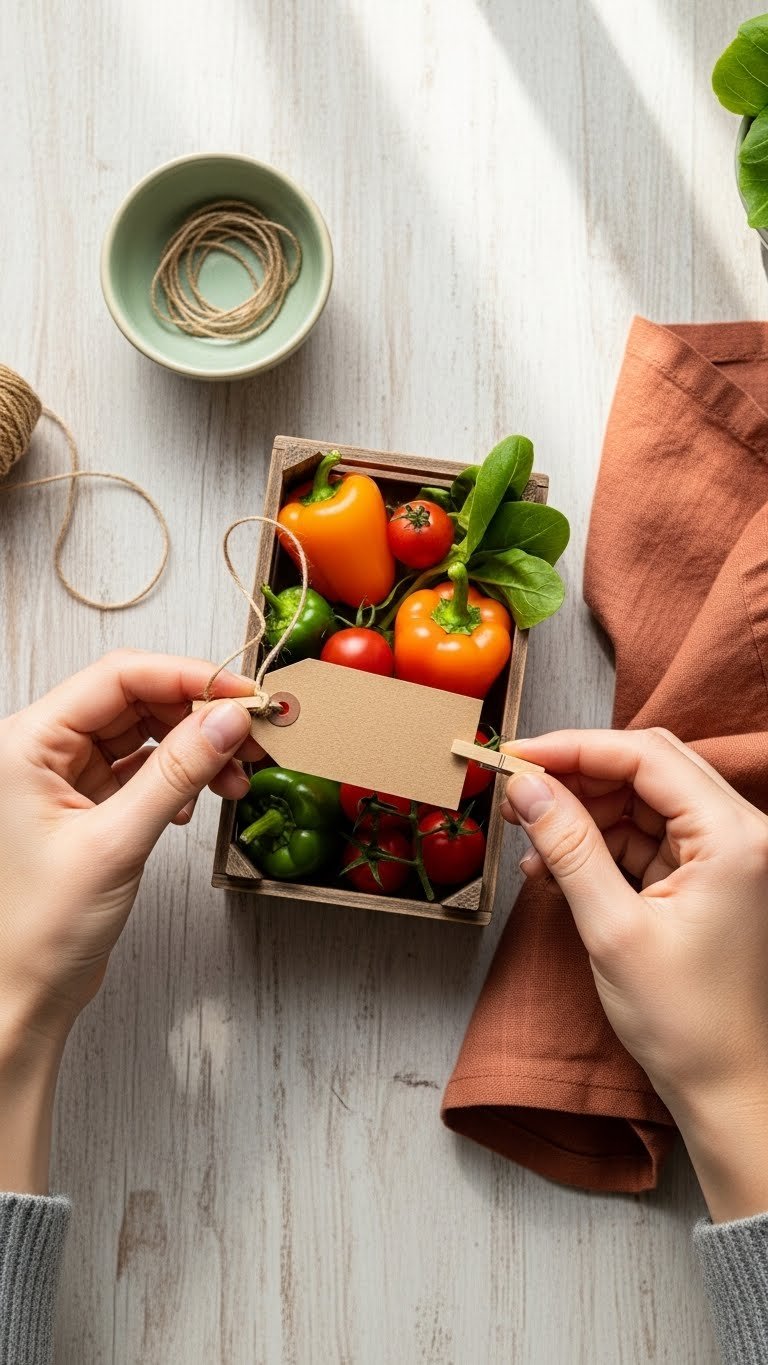
- Clean and sort your produce; group by type.
- Prepare labels: write or print names and basic info.
- Attach labels using one of these methods:
- Tie kraft tag with 3–4" of twine around stems or crate handles.
- Clip index cards to baskets with mini clothespins.
- Stick waterproof labels directly on produce where acceptable.
- Position labels so they face the customer and don’t touch delicate skins.
Quick shortcuts:
- Pre-print a sheet of labels and punch holes for tags.
- Use a label printer for batch events—30 labels in 10 minutes.
Troubleshooting:
- If labels fall off, increase twine length or switch to clothespins.
- For wet conditions, switch to laminated cardstock or waterproof stickers.
Display, Teaching Tips, and Troubleshooting (Make it interactive)

Turn labels into learning moments.
- Set up a mini station with sample bites and a “taste note” card.
- Make a simple scavenger hunt: find a label with a certain season or farm.
- Use QR codes on labels to link to farm stories or maps.
- For classrooms, let kids write one label each—limit text to 3 lines.
Common mistakes to avoid:
- Overcrowding labels—keep white space.
- Using tiny fonts—avoid anything under 10 pt.
- Placing labels where they’ll bruise produce.
Storage and Reuse (Prep ahead and save time)

Prepare once, reuse many times.
- Store blank tags in a dry, labeled box.
- Keep waterproof stickers in a resealable pouch.
- Laminate frequently used cards and reuse with dry-erase marker.
- Make seasonal label sets ahead of time: 30–60 minutes per season.
Tip: Keep a digital template for easy reprinting—swap harvest dates or farmer names as needed.
You’ve taken a small step that makes locally grown food memorable and teachable. Labeling locally grown foods gives each item a story and invites conversation—perfect for classrooms, markets, or dinner tables. Pin this guide for your next display, save it for planning, and share with friends who host tasting stations. Which labeling idea will you try first? Ready to make this happen? Let's do it!