
You want favors that feel thoughtful without eating your time or budget. Learn how to package blue baby treats as memorable party favors so guests leave with something pretty and practical. This guide shows simple assembly, styling tips, and storage hacks so your favors look pin-worthy.
You'll get clear materials lists, step-by-step assembly, labeling ideas, and timeline suggestions. Follow these steps, and you'll have coordinated favors that match your shower theme and photograph beautifully.
What You'll Need to Package Blue Baby Treats
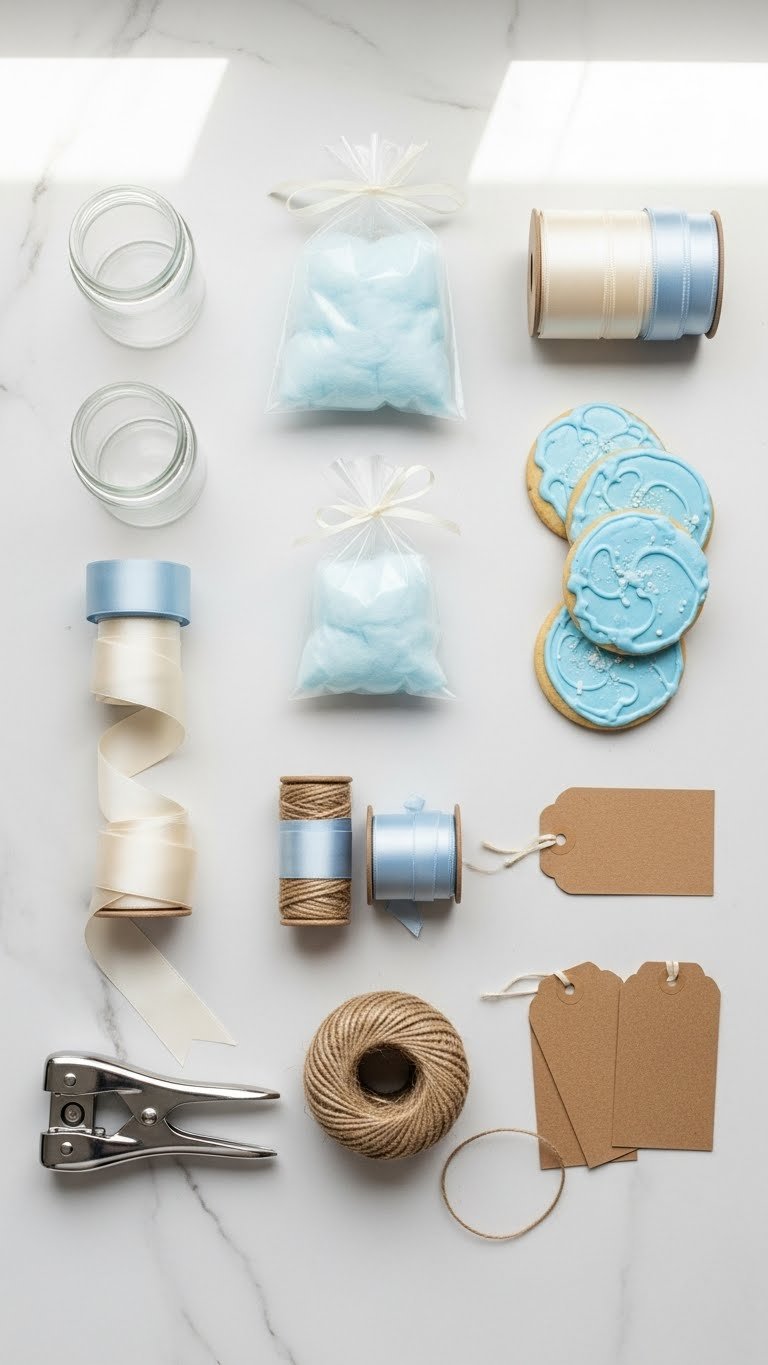
Gathering the right supplies saves time. Decide on the treat first—cookies, macarons, cake pops, or blue rock candy each change your packaging choices.
Essentials:
- Treats: plan 1–2 items per favor (e.g., 2 macarons or 1 cookie).
- Containers: small 4–6 oz jars, clear cellophane bags (6×9"), or mini bakery boxes.
- Fasteners/labels: kraft tags, sticker seals, or custom die-cut tags.
- Decor: 18–24 inches of silk ribbon per favor, sprigs of baby's breath, and silver twine.
Quick tip: Buy a few extra jars and ribbons. You'll avoid last-minute runs.
Assemble & Seal: Step-by-Step Packaging
-
Prepare treats
- Cool cookies or let frosting set 24 hours before packing.
- For delicate items, add a small square of parchment inside containers to absorb moisture.
-
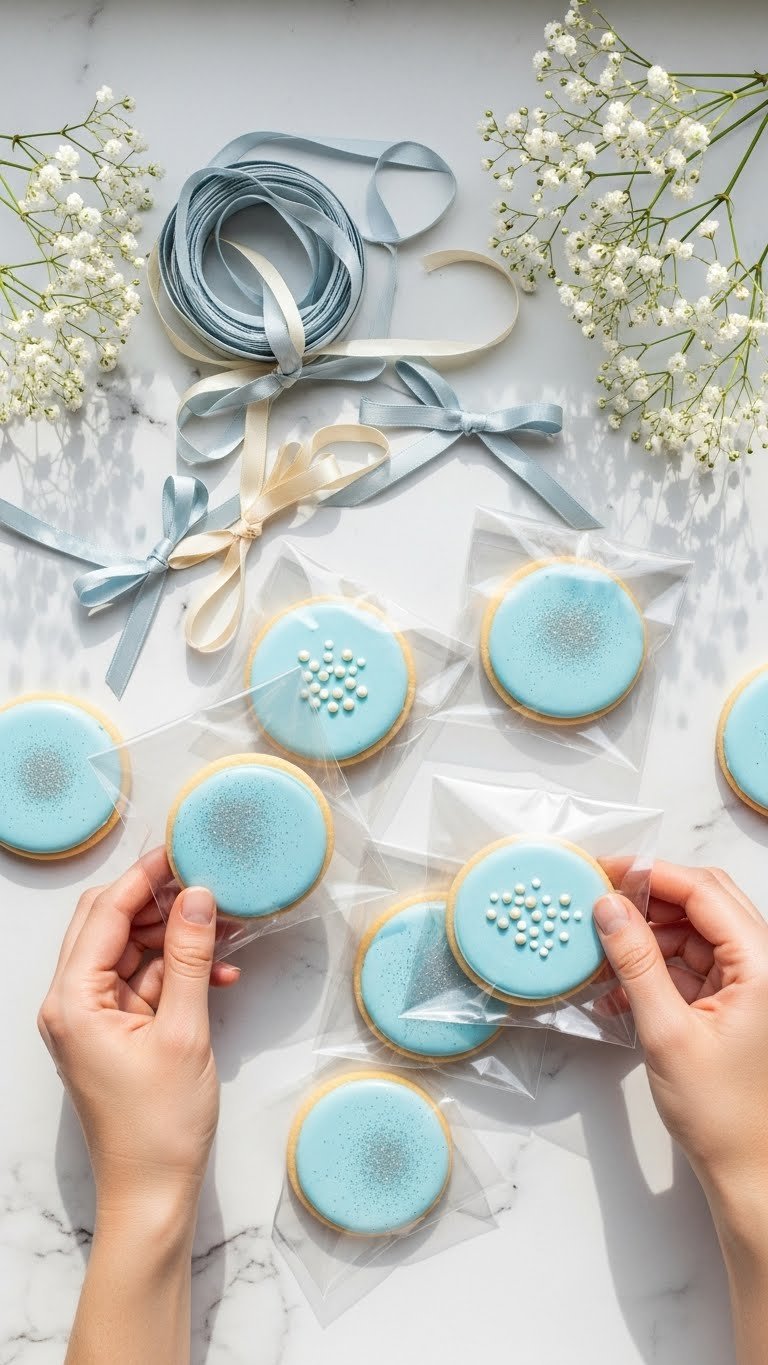
Package
- Fold cellophane bag over treat and staple or tape gently.
- For jars: place treats, add tissue or crinkle paper to prevent shifting.
- Add label inside lid or tie tag to jar neck.
-
Finish
- Thread 18–24 inches of silk ribbon and tie a neat bow.
- Tuck a tiny sprig of baby's breath under the bow for a soft look.
Pro tricks:
- Use double-sided tape to keep tags flat.
- If using stickers, press from center outward to avoid bubbles.
- For cookies, insert a small paper liner to keep frosting intact.
Styling, Labeling, and Presentation Tips

Presentation makes favors feel special. Keep labels simple and readable:
- Use short phrases like "Thank you" or baby's name and date.
- Choose a legible font and print on heavyweight kraft paper.
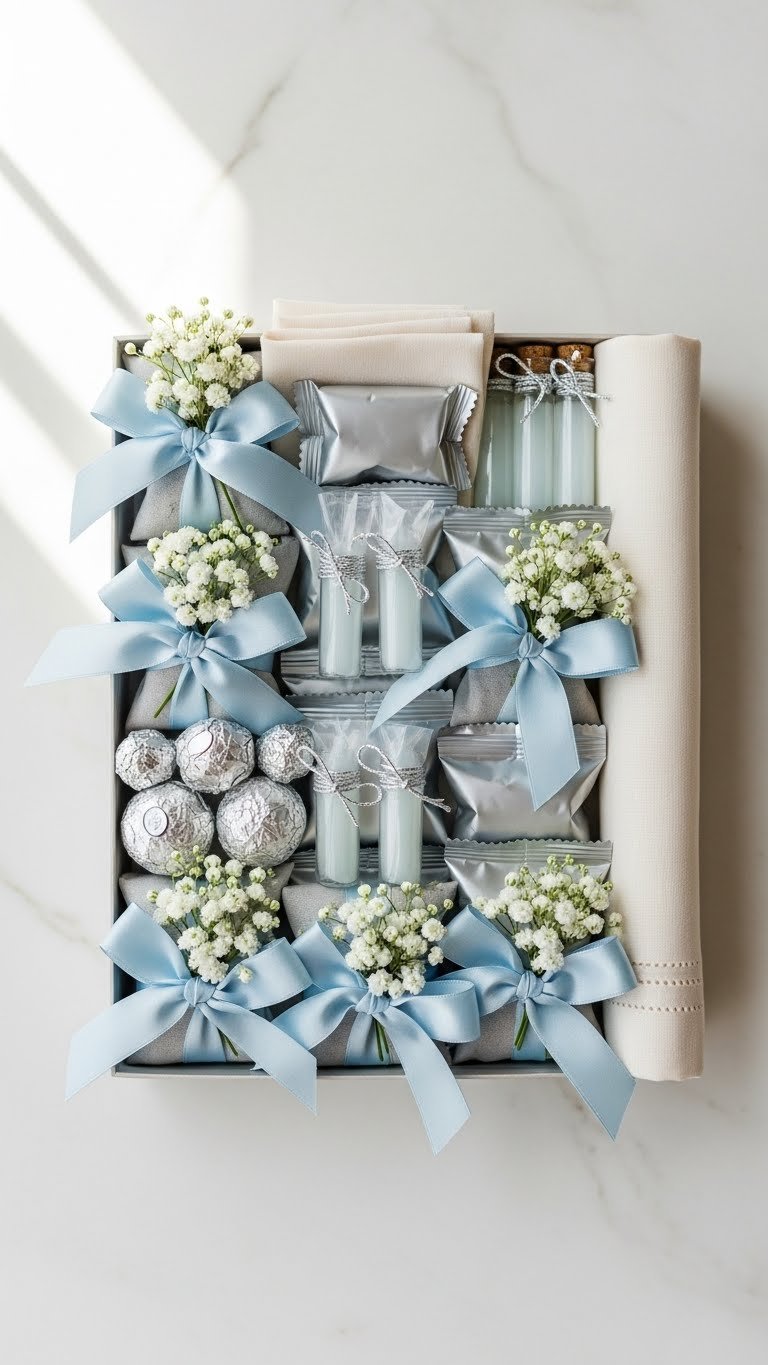
Display ideas:
- Cluster favors on a tiered stand or wooden tray for the gift table.
- Add signage that matches the blue palette to tie the look together.
Photo-ready tips:
- Leave small gaps between items for airy styling in photos.
- Keep ribbons consistent—trim tails to the same length.
- Capture an overhead shot for Pinterest; the white marble and blue palette photograph beautifully.
Common mistakes to avoid:
- Overfilling jars—items should settle easily.
- Tying bows too tight on delicate cookies.
- Using dark labels that clash with the soft blue palette.
Storage, Make-Ahead, and Distribution
Final image prompt (before conclusion):
Make favors ahead to reduce day-of stress. Depending on the treat:
- Cookies/macaroons: make 2–3 days ahead, store airtight at room temperature.
- Candy/jarred items: prepare up to 1 week ahead.
- Fresh items (e.g., cupcakes): assemble the day before and refrigerate.
Transport tips:
- Pack favors snugly in boxes with crinkle filler.
- For long drives, place boxes on a flat surface to avoid tipping.
- Label boxes with quantity per recipient for an easy setup.
Giveaway flow:
- Place favors at each place setting for smaller groups.
- For larger showers, set a staffed favor table with printed instructions for guests to take one.
Which tip will you try first? Pin this guide for your next baby shower and share with friends who need pretty, practical favor ideas. Ready to make this happen? Let's do it!