
You baked beautiful bloom cookies and now you’re staring at a tray of delicate icing that could smudge with a single wrong move. You want to keep those petals crisp, colors bright, and edges intact. This guide shows you exactly how to store decorated bloom cookies without smudging so they look picture-perfect when guests arrive or when you unwrap them later.
You’ll learn what to let dry, what to stack, how to layer, and the best containers and temperatures to use. Use these steps to protect your work and save time on party day.
What You'll Need for Safe Cookie Storage (decorated cookie storage essentials)

Gathering the right tools first makes storing easier and prevents last‑minute panics. These basic items keep icing from smudging and maintain crisp edges.
- Airtight containers in various sizes (plastic or metal)
- Parchment paper or baking paper sheets
- Cardboard rounds (2–3 mm thickness) for stacking
- Silica gel packets (optional in humid climates)
- Labels and permanent marker
Quick tip: choose containers that will fit your tallest cookie without forcing the lid down. You want a gentle space above the decorations.
Preparing Cookies Before Storage (getting icing ready)
Let icing fully dry before you touch anything. Dry time depends on icing type and thickness.
- Royal icing: 12–24 hours at room temperature (not humid) for firm finish
- Buttercream/ganache: longer to set; consider chilling briefly but avoid condensation
- If you’re short on time, set cookies in a single layer under soft airflow (fan on low) to speed drying
Avoid stacking until the top is completely set. Test by lightly tapping an edge; it should feel firm, not tacky.
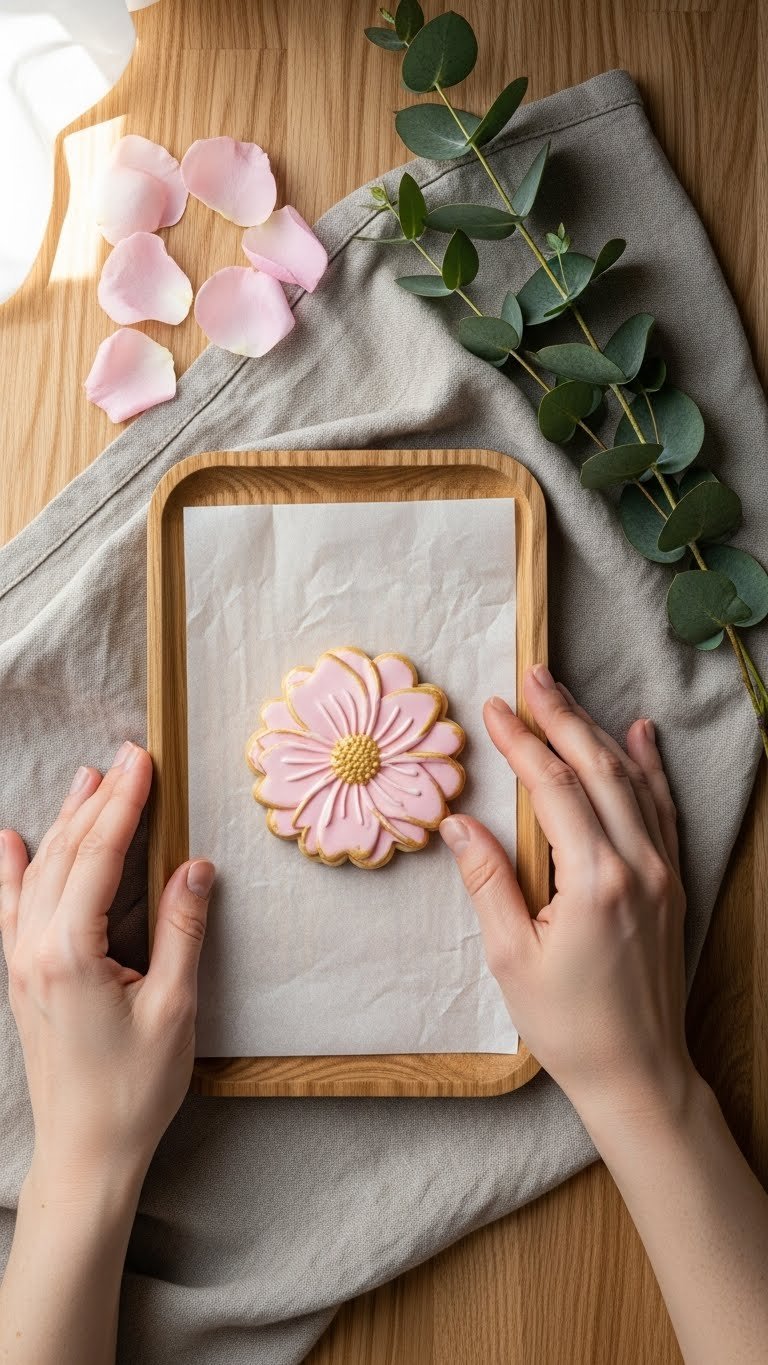
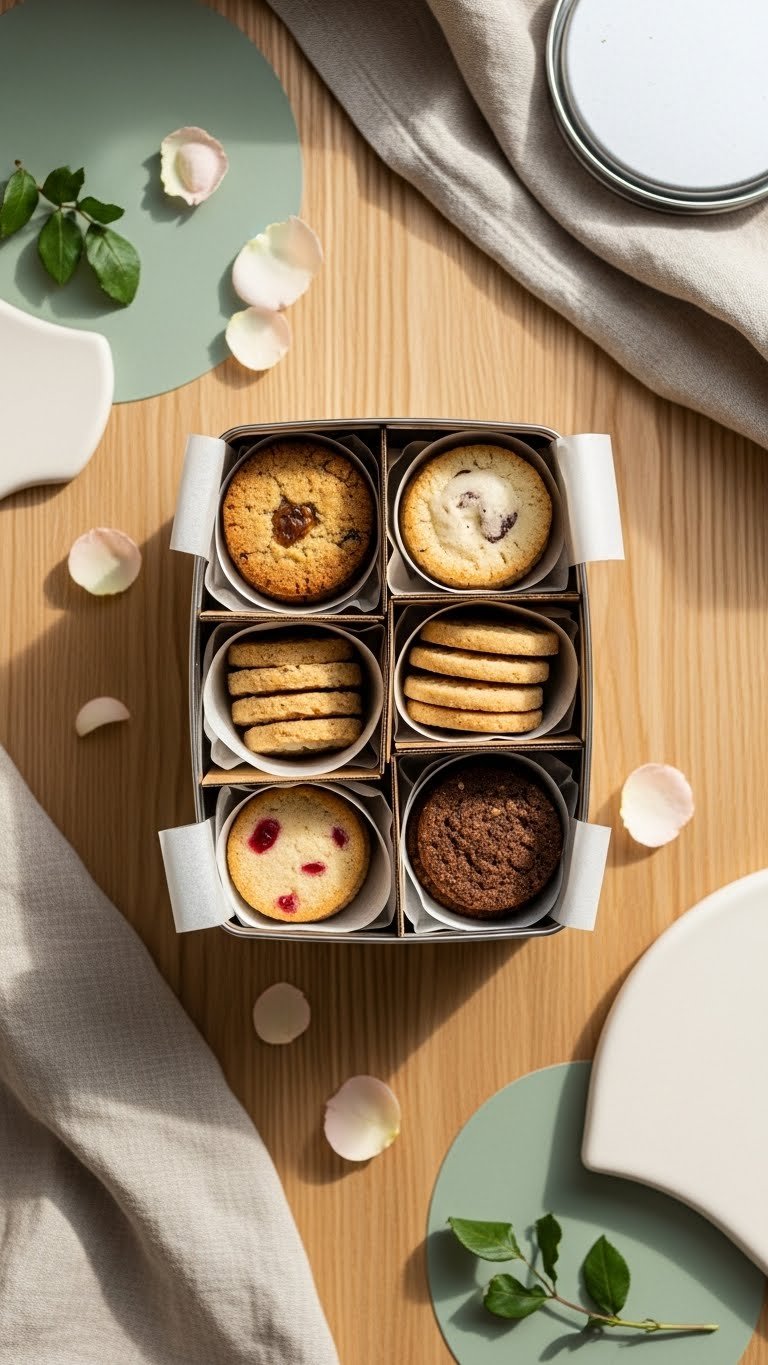
How to Store Decorated Bloom Cookies Without Smudging (step-by-step storage method)
Follow this method for short- and mid-term storage that prevents smudging.
- Line the bottom of your container with a sheet of parchment paper.
- Place cookies in a single layer, spacing them so edges don’t touch.
- For delicate blooms, add a cardboard round between layers:
- Place a parchment sheet, then a cardboard round, then another parchment sheet.
- Stack up to 3–4 cookies per layer, depending on thickness.
- Finish with a top layer of parchment and close the lid loosely for 10 minutes, then snap fully to avoid trapping humidity.
Storage timelines:
- Room temperature: up to 3 days for royal-iced cookies
- Refrigerator: avoid unless using non-tacky buttercream; if you must, wrap and allow cookies to come to room temperature before unwrapping to avoid condensation
- Freezer: freeze flat in a single layer for up to 3 months, then thaw sealed
Warning: trapped moisture ruins royal icing. Use silica packets in humid environments, but don’t let them touch cookies.
Troubleshooting Common Issues & Quick Fixes (prevent smudging and salvage)
If something goes wrong, there are simple fixes.
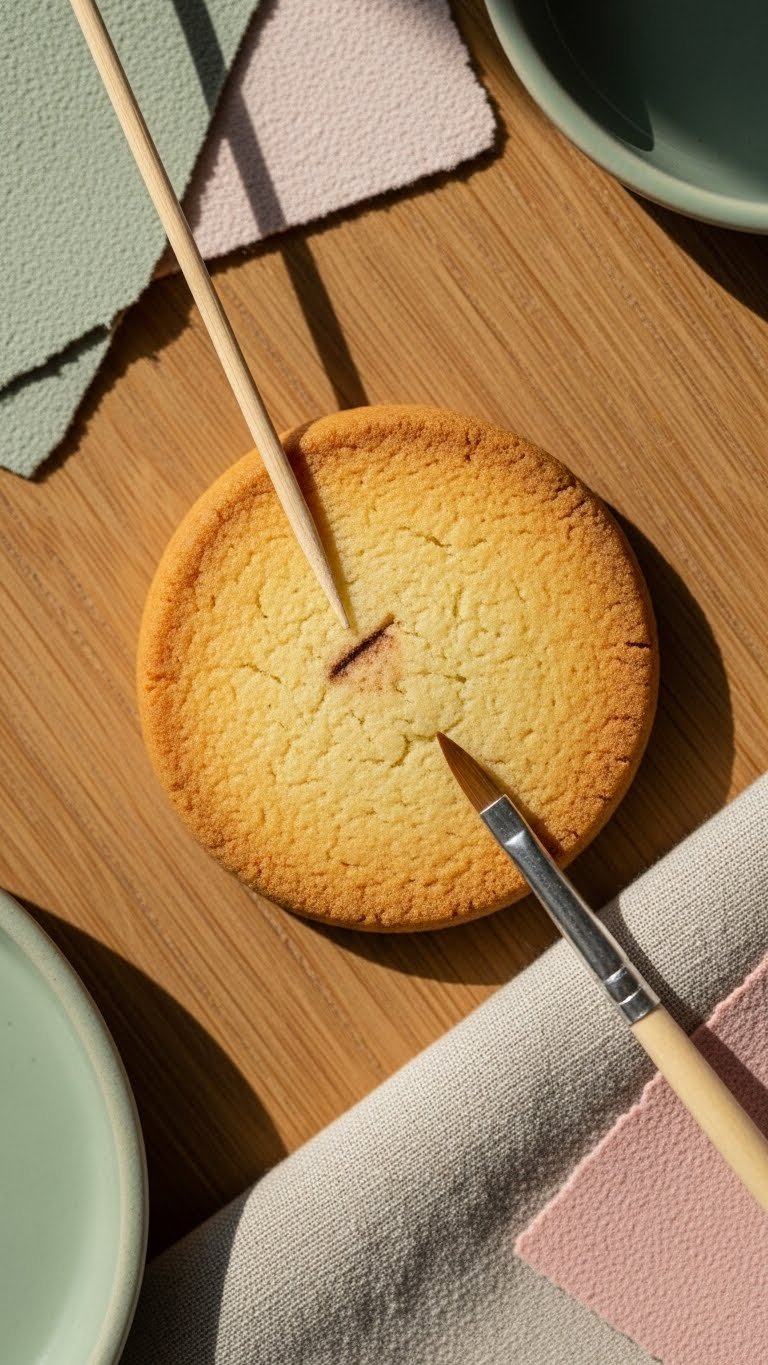
- Smudge on royal icing: gently scrape with a clean toothpick and touch up with a matching flood icing.
- Condensation after refrigeration: open container slightly and let cookies come to room temperature before fully unsealing.
- Sticky tops in humid weather: place a silica gel packet nearby (not touching) and keep containers sealed.
Pro tricks:
- Use thin cardboard rounds cut to container diameter for sturdier stacking.
- For gift boxes, wrap single cookies in parchment and use tissue for padding to avoid movement.
You now have a clear, repeatable plan for how to store decorated bloom cookies without smudging. Follow dry times, use parchment and cardboard layers, and mind humidity for best results. Ready to protect those petals?
Pin this guide for your next cookie batch! Save it for later and share with a friend who decorates cookies—which tip will you try first?