
You want a charcuterie board that looks like it belongs on a Pinterest feed. You also want it to be easy to build and relaxed for guests. Learning how to style a charcuterie board that's Instagram-perfect gives you a clear framework you can use every time.
In this guide you'll get a simple ingredient list, step-by-step assembly, styling tips, and make-ahead ideas. Follow these steps and you'll have a board that tastes great and photographs even better.
What You'll Need to Style a Charcuterie Board That's Instagram-Perfect

Gathering the right items makes styling simple. Aim for 3–5 cheeses, 3–4 cured meats, and a mix of sweet, salty, and crunchy extras. Keep portions for a 6–8 person board in mind.
Essentials:
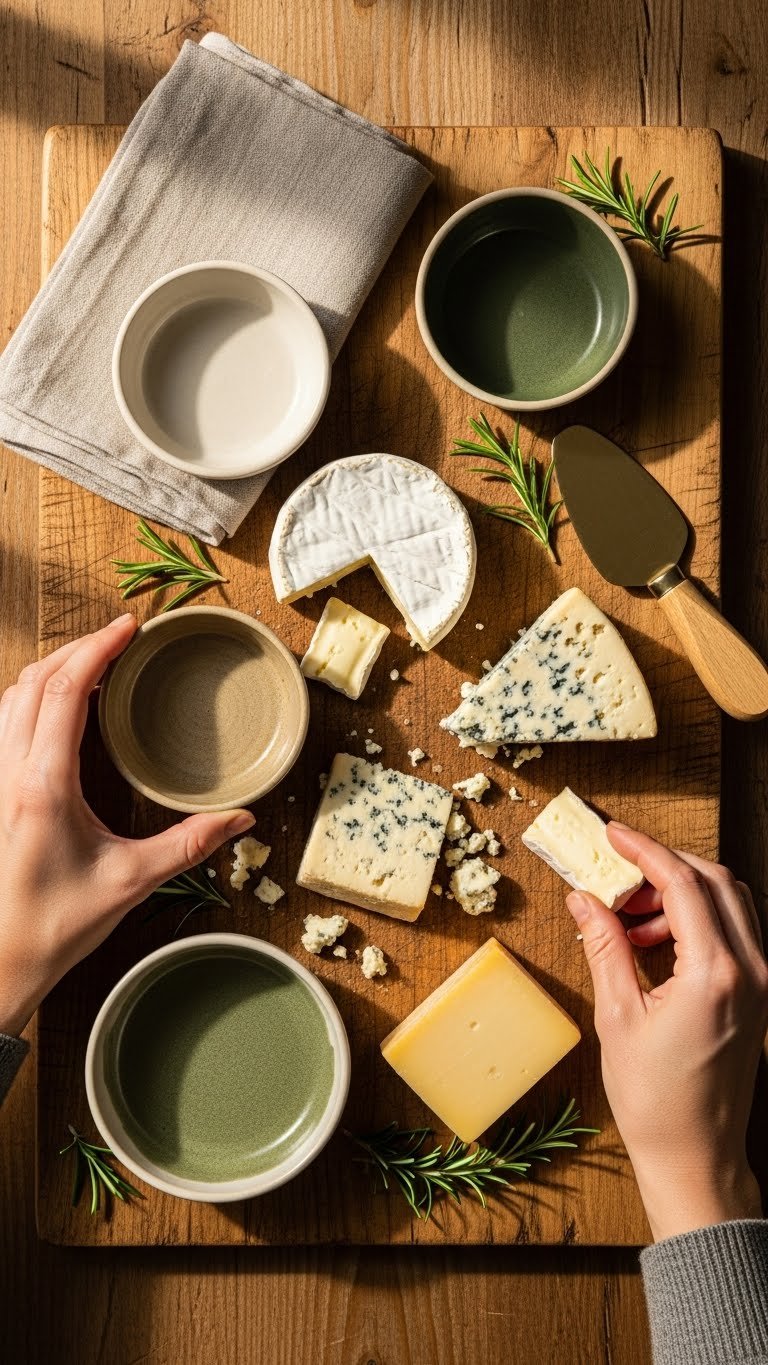
- Cheeses: 1 soft (brie, 8 oz), 1 semi-hard (cheddar, 6–8 oz), 1 blue or washed-rind (4–6 oz)
- Meats: 2–3 types (prosciutto, salami, soppressata; 3–4 oz each)
- Fillers: 1 cup grapes, ¾ cup olives, ½ cup nuts
- Crunch: 2–3 cracker varieties and a sliced baguette
- Condiments: ¼ cup honey, mustard, fig jam
- Tools:
- Large wooden board (18–24 inches), small ceramic bowls, cheese knives, brass spreaders, small serving spoons
Preparing Your Ingredients and Layout
Before you start placing items, prep like a pro. Chill soft cheese for 20 minutes so it's firmer to slice. Cut hard cheeses into varied shapes: cubes, wedges, and thin slices. Tear prosciutto into loose folds for texture.
Quick prep steps:
- Place condiments in bowls first to anchor the layout.
- Slice bread and crackers just before serving to avoid staleness.
- Group like-colors and textures separately for contrast.
Tips:
- Keep a small container for olive pits off to the side.
- Use fresh herbs (rosemary, thyme) as tiny green accents.
- Warning: overcrowding makes the board look messy. Leave small pockets of negative space.
Step-by-Step Assembly for an Instagram-Perfect Board
Follow this order to build a balanced board. Work from the center outward.
- Place bowls: Put 2–3 bowls (olives, nuts, jam) spaced across the board.
- Add cheeses: Position cheeses with different shapes and colors spaced apart.
- Fold meats: Arrange meats in loose rosettes or stacked layers near cheeses.
- Fill in fruits: Tuck small clusters of grapes and sliced apples in gaps.
- Add crackers/bread: Lean crackers vertically or fan sliced baguette around edges.
- Finish accents: Sprinkle nuts, honey drizzle, and herbs for color.
Assembly tips:
- Use height: stack crackers or lean cheese slices against bowls for dimension.
- Contrast colors: place terracotta-hued dried apricots near pale cheeses.
- Make one focal point — a round brie with honey and rosemary works well.
Styling Tips, Serving and Storage

Small styling choices make the board pin-worthy. Use repeat colors for visual flow and vary textures for interest. Keep some items whole — a half wheel of brie or a bunch of grapes reads well in photos.
Quick tips and troubleshooting:
- If the board looks flat, add a small pile of sliced salami for height.
- If colors feel monotone, add a handful of pomegranate seeds or fig slices.
- Avoid soggy fruit: add wet fruit like melon just before serving.
Make-ahead: - Chop and portion ingredients up to 24 hours ahead. Store items separately.
- Assemble on the same day, up to 2 hours before serving. Cover loosely with a clean towel in a cool spot.
Storage: - Store leftover cheeses wrapped in parchment in the fridge for 3–5 days.
- Keep crackers airtight to stay crisp.
Which common mistake do people make? Overfilling. Remember negative space helps each element stand out, especially in photos.
You’ve got a repeatable formula for how to style a charcuterie board that's Instagram-perfect. Use the same palette and props each time for a cohesive feed look. Pin this guide for your next get-together and save the ingredient checklist.
Ready to make one? Pin this guide for your next party, and tell me which tip you’ll try first!