
You want a food display that looks effortless and inviting, but you’re not sure where to start. Styling a rustic food display with natural elements makes your table feel warm, wholesome, and photogenic for guests or Pinterest. In this guide you’ll get simple materials lists, step-by-step setup, and styling tips you can use immediately.
Follow these action-ready steps and you'll learn how to style a rustic food display with natural elements that looks balanced, seasonal, and easy to reproduce. You’ll leave with timing, small measurements, and quick fixes so your spread looks pulled together in under an hour.
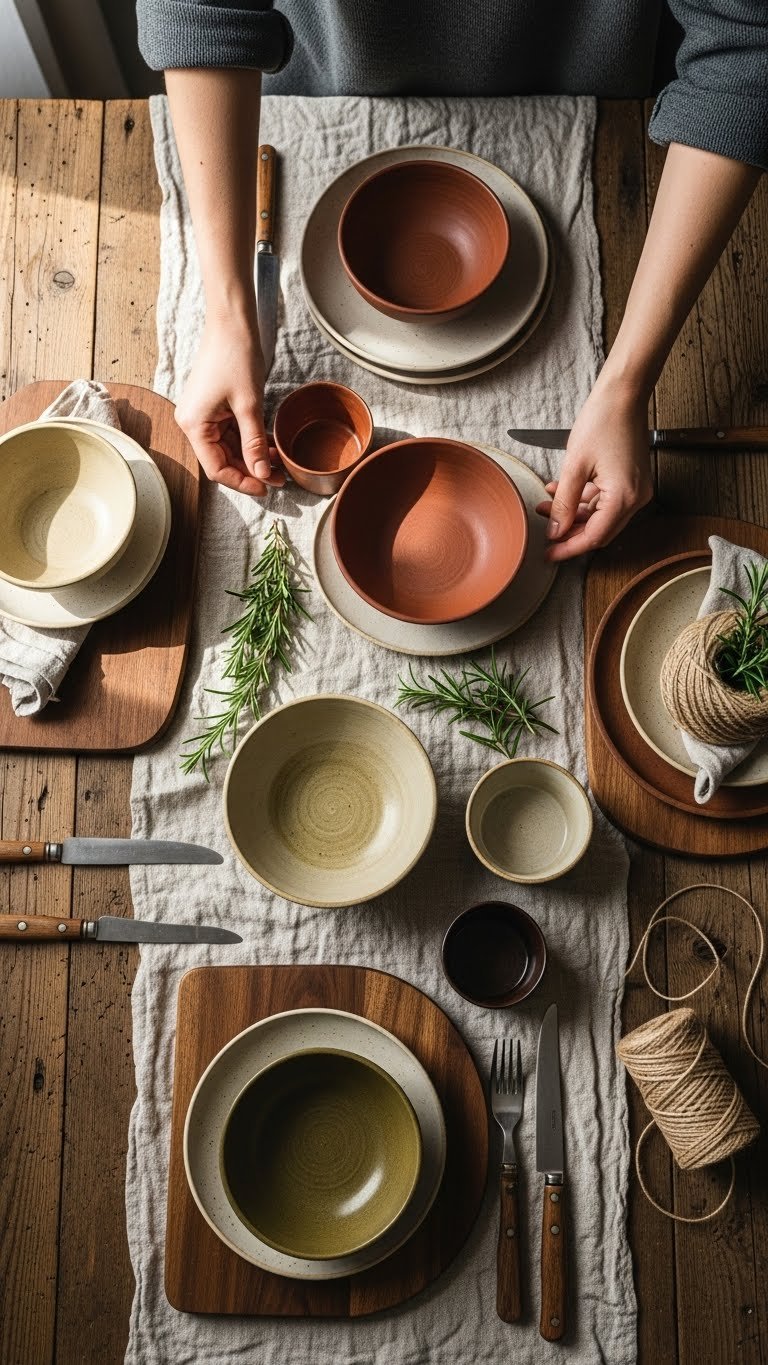
What You'll Need to Style a Rustic Food Display with Natural Elements

Gathering the right materials speeds setup and keeps the look cohesive. This list focuses on natural textures and a limited color palette to make arranging simple.
Quick checklist:
- Boards: one 20–24 inch wooden board + a couple of smaller boards
- Textiles: neutral linen napkins or runner (cream or olive)
- Containers: 3–5 ceramic bowls or small ramekins
- Greenery: rosemary, thyme, eucalyptus sprigs
- Extras: twine, small scissors, coarse salt bowl, cheese knives
Tips:
- Choose 2–3 focal foods (cheese, bread, roasted veggies) and support with small bites.
- Keep props minimal; each item should earn its place visually.
Setting Up the Base: Arrange Boards, Textiles, and Height
Start with a strong base so your rustic food display with natural elements feels intentional. Use layers for depth and easy access.
Step-by-step:
- Lay the linen runner lengthwise to anchor the vignette.
- Place the large board slightly off-center; add smaller boards at varying angles.
- Position taller elements (loaf, bottles) toward the back for a natural slope.
- Fill gaps with ceramic bowls that hold olives, nuts, or dips.
Pro tips:
- Keep a 6–8 inch pathway for guests to reach food.
- Use odd numbers (3 bowls, 5 sprigs) for pleasing balance.
Warnings:
- Don’t overcrowd: leave negative space so each item reads clearly.
- Avoid mixing too many colors—stick to the established palette.
Styling Tips and Tricks for Natural, Rustic Charm

Now add small touches that draw the eye and taste buds. These finishing moves make a rustic food display with natural elements look curated.
Design moves:
- Use mixed textures: crusty bread, soft cheese, smooth ceramic, rough wood.
- Add height with a small cake stand or stacked boards (raise one item by 1–2 inches).
- Place herbs as both garnish and divider between items.
Quick tricks:
- Break bread into chunks instead of pre-slicing—guests can grab and it looks rustic.
- Use a small spoon for drizzles (honey, olive oil) and leave next to the bowl.
- Sprinkle coarse sea salt on a small plate for visual contrast.
Common mistakes to avoid:
- Lining everything up; aim for casual clusters.
- Too many small plates—keep servingware minimal and functional.
Serving, Storage, and Make-Ahead Shortcuts

Want to save time? Prep smart so the display comes together quickly.
Make-ahead ideas:
- 1 day ahead: slice hard cheeses, wash herbs, bake bread. Store wrapped in linen or parchment.
- 2–3 hours ahead: arrange boards and textiles, place empty bowls where they’ll go.
- Right before serving: fill bowls, add fresh herbs, and slice soft cheese.
Storage tips:
- Wrap leftover bread in linen and store at room temp for 1–2 days.
- Refrigerate perishable items and bring to room temp 20–30 minutes before serving for best flavor.
Shareability note:
- For pin-worthy photos, leave a small gap in the center of the display so a hero item (cheese or cake) can headline the shot.
You’ve now got a clear plan to style a rustic food display with natural elements that’s cozy, approachable, and camera-ready. Pin this guide for your next gathering, save it for later, and share with friends who love hosting. Which tip will you try first? Ready to make this happen? Let's do it!