
You want a calm kitchen and on-time hors d'oeuvres, not a last-minute scramble. Learning How to Time Food Preparation for a Seamless Bridal Event saves stress and keeps food fresh and photogenic. This guide shows you exactly what to prep, when to prep it, and how long each step takes. You’ll leave the venue smiling and your guests well fed.
What You'll Need (ingredients and tools)

Start by gathering everything so you won't interrupt your flow later. List ingredients by station (appetizers, mains, desserts) and tools by task (holding, reheating, plating).
- Supplies checklist:
- Serving trays, chafing dishes, sternos
- Clear food labels and masking tape
- Aluminum pans, airtight containers
- Thermometers, timers, disposable gloves
- Quantities tip: plan 1.5 servings per guest for mixed buffet items.
- Warning: don’t rely on labeling alone—add destination tags for each platter.
Build a Backward Timeline

Work backward from service time to create a reliable schedule. Front-load the timeline with long tasks and leave short touch-ups for last.
- Note the event start time and desired food service window.
- Subtract plating and transport time (usually 30–60 minutes).
- Fit big cooks first: roasts, baked casseroles, sheet-pan items.
- Insert chilled items and garnishes last to stay fresh.
Sample timeline for a 4 PM reception:
- 8:00 AM — start marinades and slow-roast items
- 12:00 PM — finish roasted mains, begin cooling
- 2:00 PM — pre-assemble cold platters, refrigerate
- 3:15 PM — reheat mains, final plating
- 3:45 PM — load and transport to venue
Make-Ahead Prep Flow (what to prep when)

Divide your work into three zones: freeze/future, fridge-ready, and day-of. This prevents bottlenecks.
- 3–5 days before:
- Freeze baked goods or par-baked crusts.
- Make big stocks and sauces; cool and refrigerate.
- 24–48 hours before:
- Chop veggies, make dressings, prep fillings.
- Pre-toast enough bread for 1.5x the guest count; store airtight.
- 4–6 hours before:
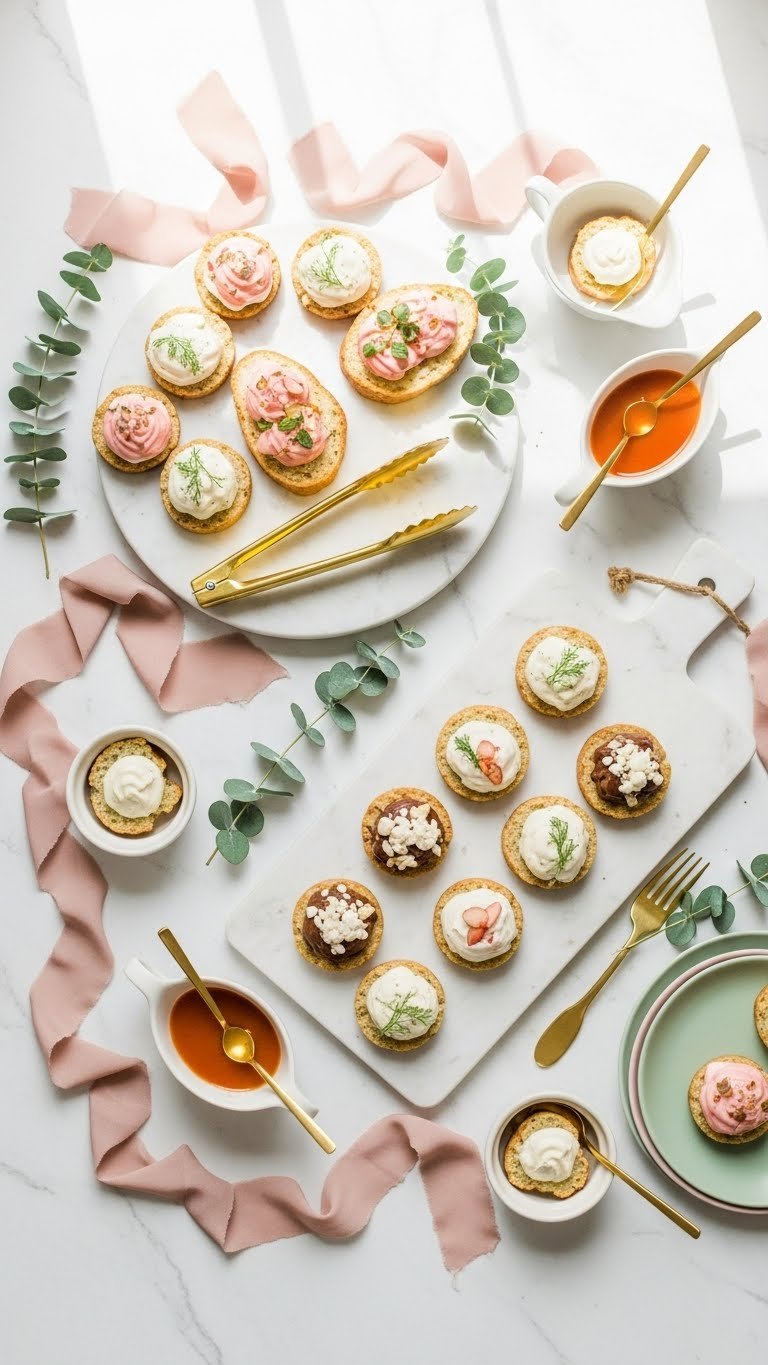
- Assemble cold platters and desserts; keep chilled.
- Label each container with content and planned plating time.
Pro tips:
- Use clear containers for quick inventory checks.
- Chill platters partially assembled; finish garnishes 20–30 minutes before service.
- Common mistake: over-garnishing early—it wilts. Hold delicate herbs back.
Day-Of Execution: Cook, Plate, Serve
On the day, you’ll follow tight windows. Stick to the plan and keep communications clear.
- Final reheating:
- Use ovens at +25°F below final temp, then finish at service temp.
- Hold hot items in foil in low oven (150–160°F) for up to 60 minutes.
- Plating order:
- Lay base items first.
- Add proteins and sauces.
- Finish with crunchy elements and herbs.
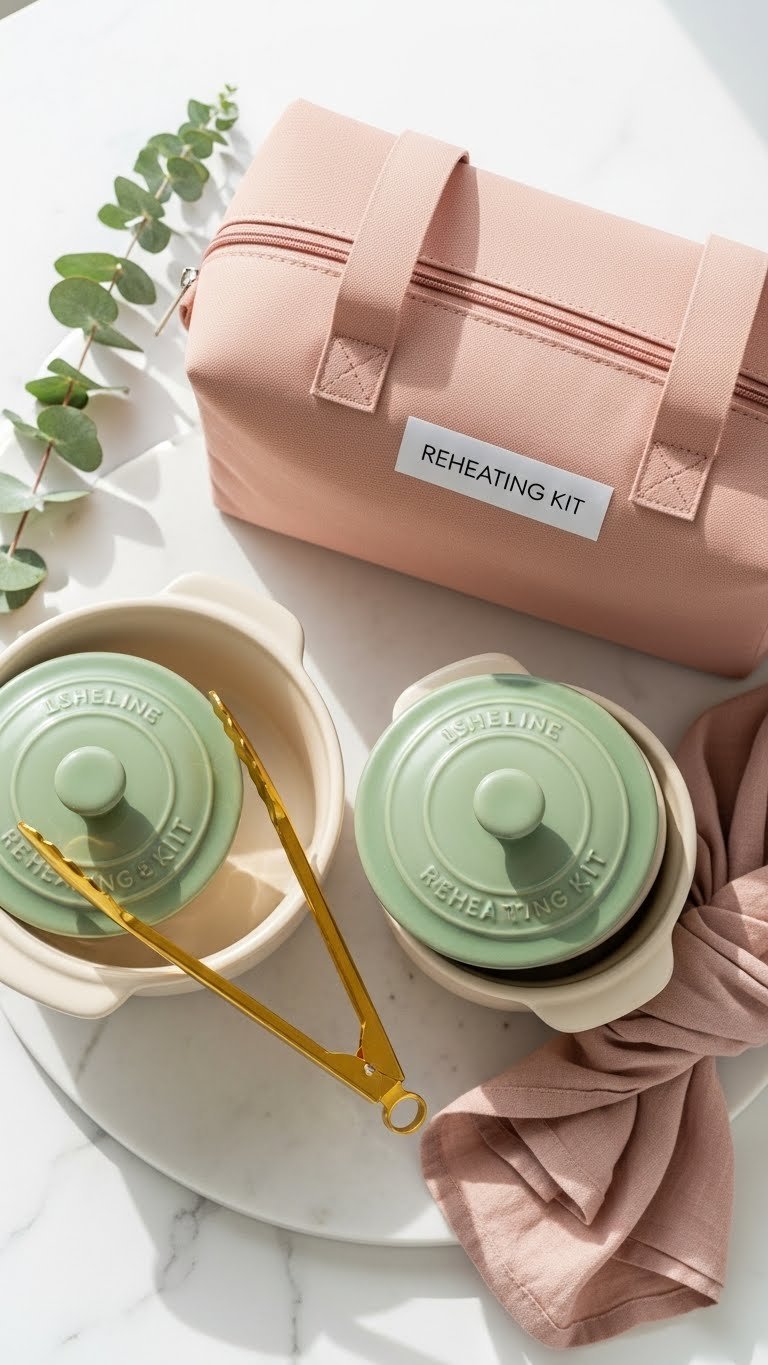
- Transport checklist:
- Secure lids, use non-slip liners, and pack reheating instructions.
- Assign one person to staging at venue.
Warnings and fixes:
- If something cools, reheat gently in a water bath to avoid drying.
- If short-staffed, simplify service to 2–3 composed platters rather than many individual plates.
You can keep service smooth by staggering release times, so guests eat while food is freshest. Communicate timing with the coordinator and server team.
You now know how to time each step so food arrives fresh and beautiful. With one clear timeline, labeled containers, and a simple day-of plan, you’ll keep stress low and smiles high. Pin this guide for your next bridal event, save it for later, and share it with the team helping you. Which timing tip will you try first? Ready to make this happen? Let's do it!