
You’re prepping salads for a picnic, potluck, or work lunch and worry they’ll warm up. How to transport cold salads without warm temperature issues is simpler than you think. With the right gear, smart packing, and a few timing tricks you’ll keep greens crisp and dressings chilled. This guide shows exactly how to transport cold salads without warm temperature issues so you can plan confidently and enjoy every bite.
What You'll Need to Keep Salads Cold (transporting salads)
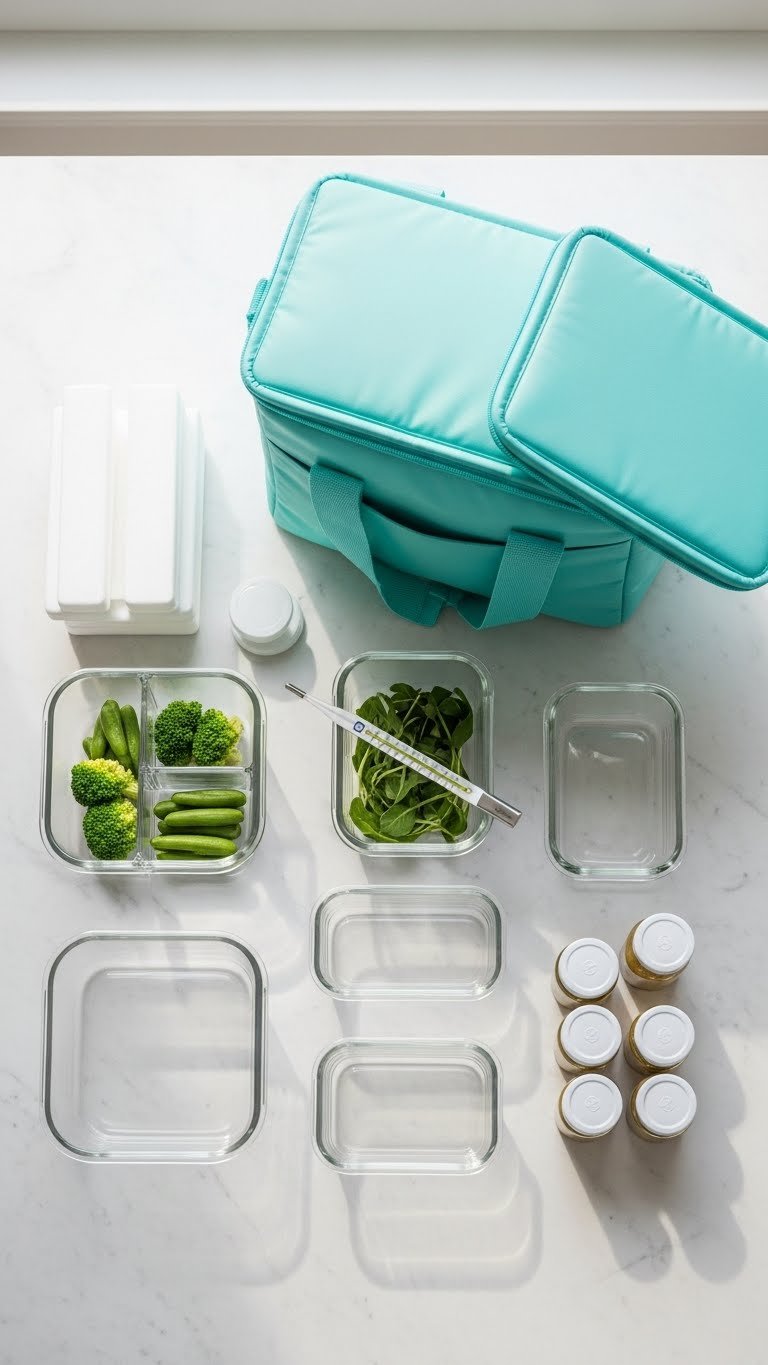
Start with a checklist so you don’t forget essentials. Use gear designed for cold salad transport and avoid flimsy bags.
- Insulated cooler or soft-sided cooler (choose one with thick foam insulation)
- Reusable ice packs (flat packs are best)
- Rigid glass or BPA-free plastic containers with tight lids
- Small dressing jars or leakproof containers
- Kitchen thermometer and a clean linen napkin
Tip: Aim to start with everything chilled. Put ice packs in the freezer at least 6 hours before packing.
Prep Ingredients and Drain Excess Moisture
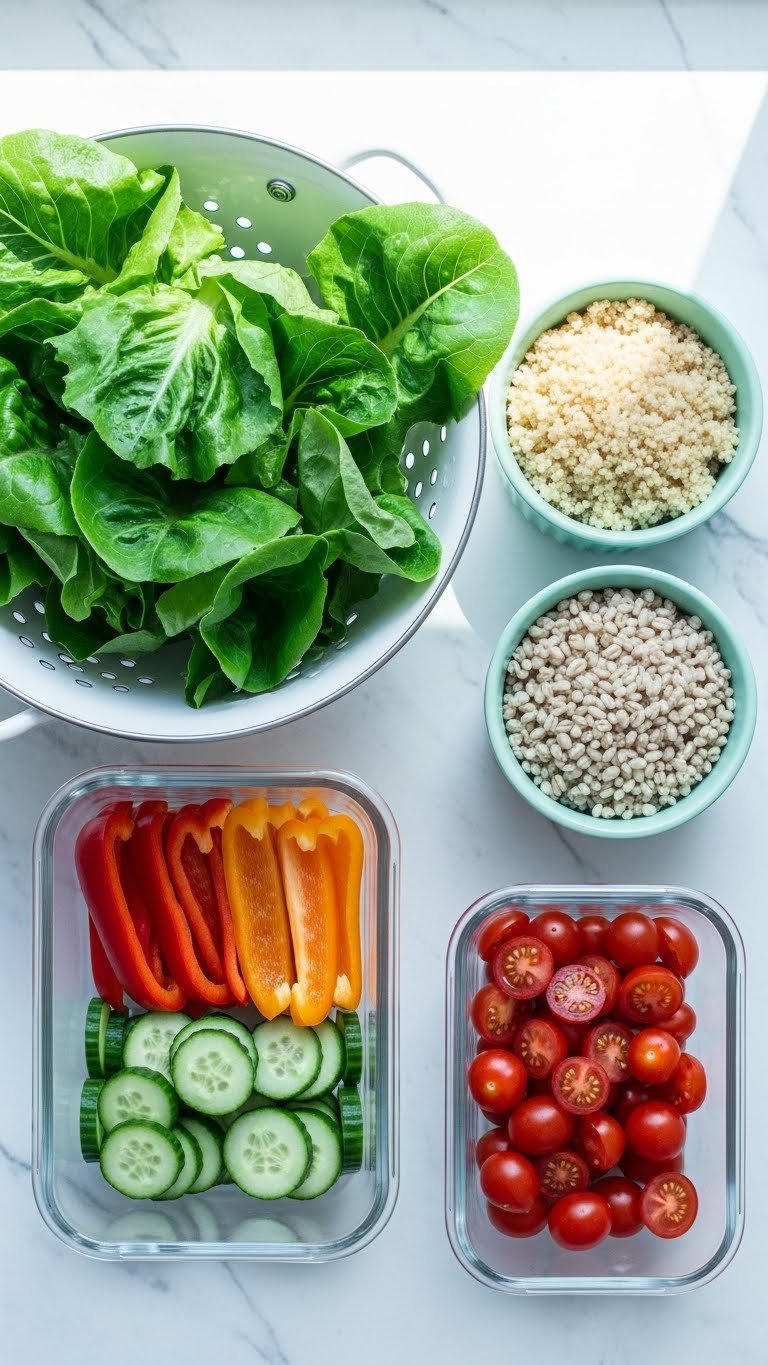
Moisture is the biggest enemy of crisp salads. Prep ingredients so they stay dry and cold.
- Wash greens and spin or pat dry until nearly moisture-free.
- Store wet ingredients (tomatoes, cucumbers) separated in small containers.
- Keep dressings in small, sealable jars and add right before serving.
Quick steps:
- Chill ingredients in the fridge 30–60 minutes before packing.
- Layer paper towels in containers under greens to absorb extra moisture.
- For grain salads, cool cooked grains completely to room temperature, then chill at least 1 hour.
Warning: Packing warm ingredients raises interior temperatures. Cool everything first.
Pack and Layer for Safe Cold Salad Transport
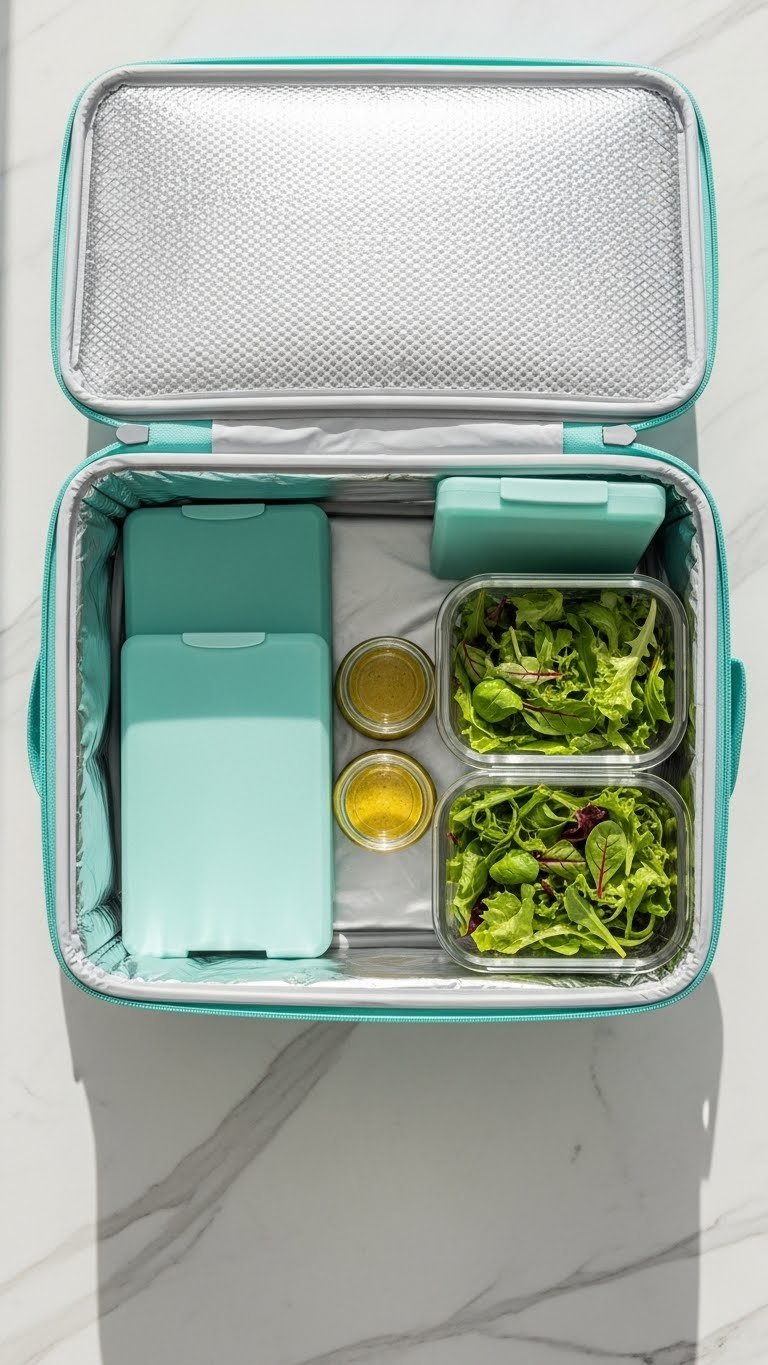
How to transport cold salads without warm temperature issues comes down to layering and timing.
- Place a layer of frozen ice packs at the bottom of the cooler.
- Add chilled containers, then another layer of ice packs on top.
- Keep dressings and delicate herbs inside a small insulated pouch or on top where they stay cool.
Numbered packing order:
- Bottom ice pack
- Heavy, sealed containers (e.g., pasta or grain salads)
- Greens in shallow containers
- Top ice pack and dressings
Pro tip: Fill empty space with towels or extra ice packs to reduce air pockets.
Troubleshooting, Timing, and Make-Ahead Tips
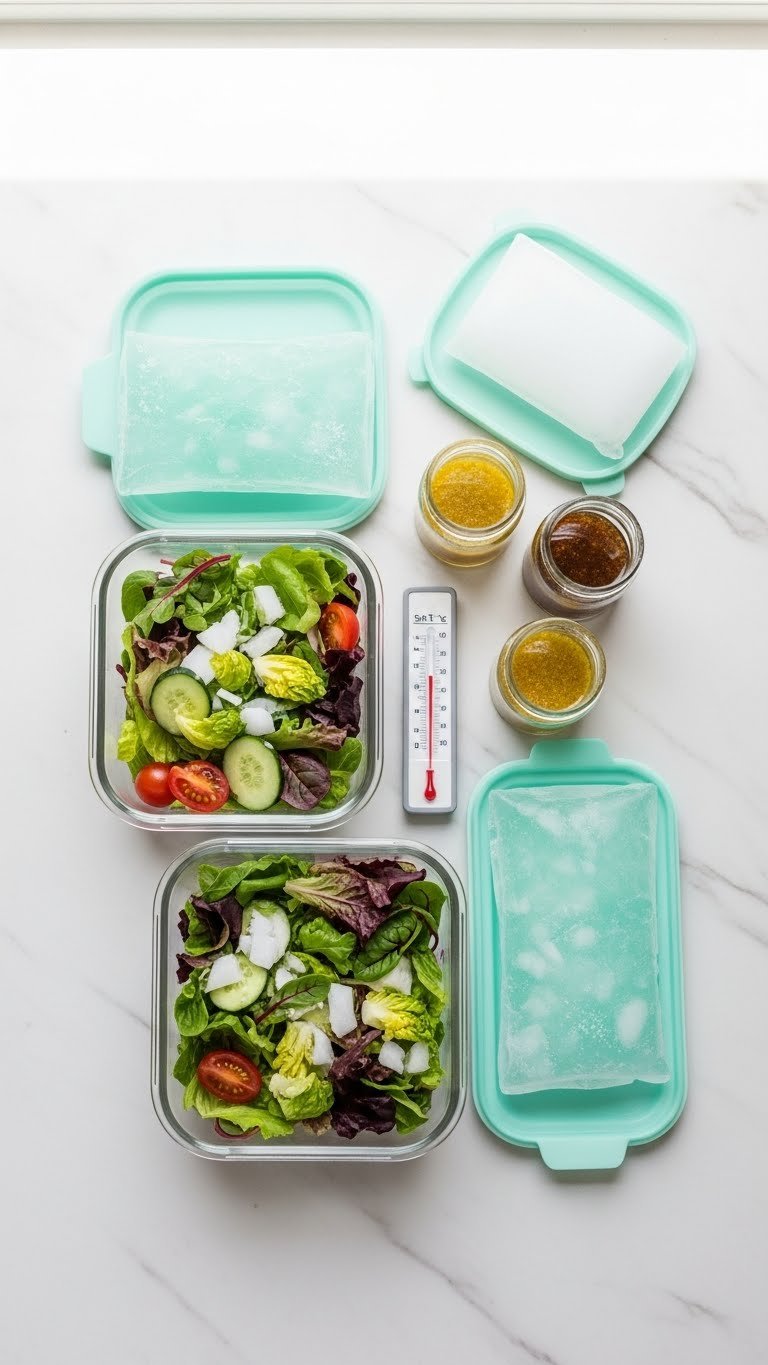
Avoid warm salad disasters with timing and simple checks.
- Keep travel time under 2 hours whenever possible. For longer trips, use additional frozen gel packs or dry ice handled safely.
- Check internal temperature on arrival: salads should be below 40°F (4°C).
- If refrigeration on site is available, transfer containers immediately.
Common mistakes to avoid:
- Packing dressings inside the salad — they cause sogginess.
- Using a cooler that’s been stored in a hot car.
- Overstuffing a single container; split into two shallow containers for faster chilling.
Variations: For outdoor events, serve chilled salads from a shallow bowl over ice in a cooler-lined tray.

You’re ready to travel with salads that stay crisp and chilled. Follow these steps for how to transport cold salads without warm temperature issues and you’ll serve fresh-tasting salads every time. Pin this guide for your next picnic, save it for busy weekdays, and share with friends who pack lunches. Which tip will you try first? Ready to make this happen? Let's do it!