
You’ve baked, frosted, and arranged a perfect tiered cupcake tower — now comes the scary part: driving it to the venue. Learning how to transport tiered cupcakes without disaster striking saves you stress and ruined desserts. This guide shows you exact tools, step-by-step stabilization, car setup, and fast fixes so your cupcakes arrive picture-perfect.
You’ll learn simple staging, how to secure tiers, driving tips, and storage tricks. Read the steps, gather the materials, and you’ll feel confident carrying that tower like a pro.
What You'll Need (cupcake transport tips)

Gather everything before you stack. Lay items out where you can reach them quickly. This lowers the chance of last‑minute panic.
Must-haves:
- Tiered cupcake carrier or a sturdy box with insert trays
- Non-slip mat (cut to fit each tier)
- Cake dowels or sturdy straws (2–4 per tier)
- Parchment circles (cut to tier diameters)
- Ice packs and a small insulated bag if frosting is soft
- Toothpicks and masking tape for temporary braces
Quick tip: Chill cupcakes 30–45 minutes before transport. Cold frosting moves less.
Assemble & Stabilize Tiers Before You Drive
Stability beats speed. Take these steps slowly and methodically.
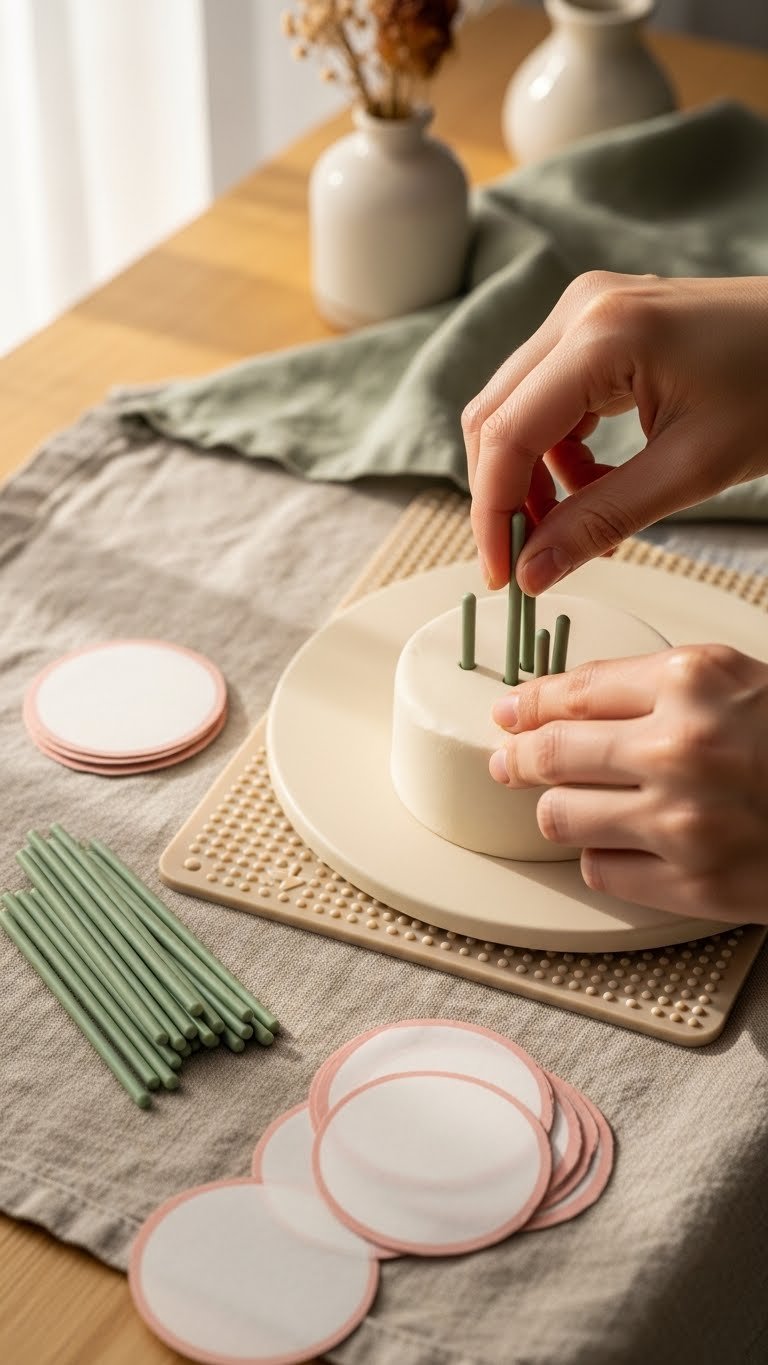
- Place a parchment circle on each tier board.
- Center the tier of cupcakes on its board. Use a non-slip mat under the board.
- Insert 2–4 cake dowels evenly in the lower tier. Cut dowels flush with the board top.
- Stack the next tier carefully, aligning center points.
Tips:
- For a tall tower, use a center dowel that goes through every tier for extra security.
- Mark dowel spots with a toothpick before drilling to avoid wobble.
Warning: Don’t stack warm cupcakes. Frosting will shift.
Transporting in the Car: Setup and Driving Tips

Where you place the tower in the car matters more than how you hold it.
- Put the box on the floor behind the passenger seat or on a flat seat with the seat belt wrapped around the box base.
- Use a non-slip mat under the box. Add towels to fill gaps and prevent sliding.
- Keep the car cool. Use AC on warm days and place ice packs near (not touching) fragile buttercream.
- Drive slowly. Avoid quick starts, sudden stops, and sharp turns.
Step-by-step while driving:
- Load last and unload first.
- Keep the box low and level.
- Stop occasionally for a quick check if the trip is over 30 minutes.
Pro trick: Bring a small emergency kit — extra dowels, toothpicks, piping bag with a few tablespoons of frosting for touch-ups, and a small spatula.
Troubleshooting Common Issues & Storage
Small disasters can be fixed fast.
- Collapsed frosting? Chill for 15–20 minutes, then smooth with a chilled spatula.
- A dislodged cupcake? Replace from a held-back spare or swap adjacent cupcakes to hide the gap.
- Sweating frosting? Move to shade and air conditioning, then chill briefly.
Storage notes:
- Store unfrosted cupcakes at room temperature in a sealed container up to 24 hours.
- Frosted cupcakes keep best refrigerated for 24–48 hours. Bring to room temperature 30–45 minutes before serving.
Common mistakes to avoid:
- Driving with a tall carrier unsecured.
- Stacking warm cupcakes.
- Skipping a non-slip layer under each tier.
You’ve got the plan, the materials, and the driving checklist. With a little prep and calm driving, you’ll confidently transport your tower. Pin this guide for your next event, save it for later, and share with friends who bake. Which stabilization tip will you try first? Ready to make this happen? Let's do it!